Thermal Camera for Solar Panel Hot Spot Inspection: What Actually Works (2026)
As an Amazon Associate I earn from qualifying purchases. This post contains affiliate links, so I may earn a commission at no extra cost to you. See the affiliate disclosure.
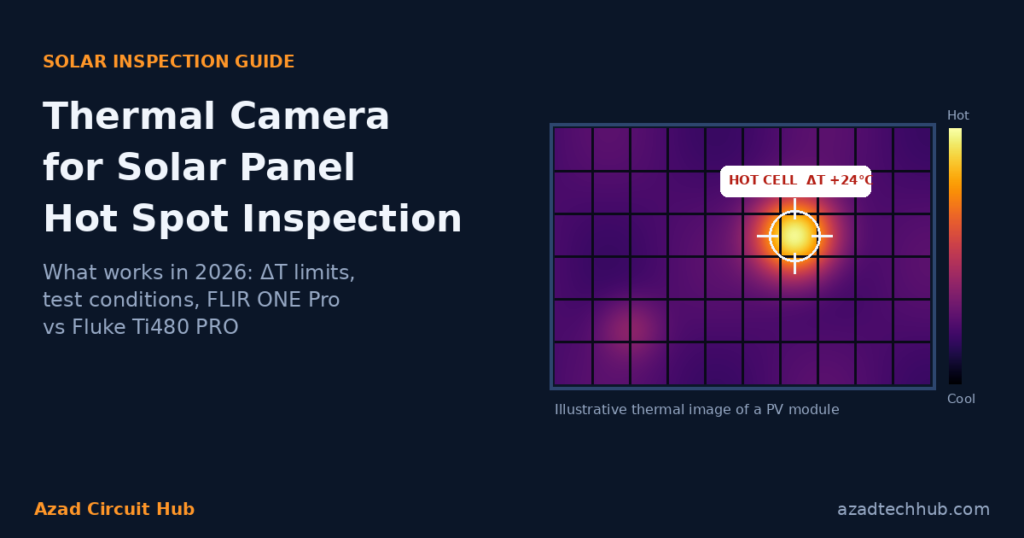
A thermal camera for solar panel hot spot inspection shows you a failing cell in seconds, long before the module’s output drops enough to appear in your monitoring app. I work with PV, electrical and automation systems, and thermal imaging is still the fastest way I know to tell a healthy string from one that is slowly overheating. The catch is that resolution, distance and sunlight decide whether you see a real hot cell or just a warm blur, so the camera you pick matters.
This guide covers what a hot spot is, how hot is too hot, the conditions you need, and whether a smartphone camera like the FLIR ONE Pro is enough or whether you need a Fluke Ti480 PRO. I also answer the related questions people search, from the 33% rule to PCB inspection.
Quick answer: The best thermal camera for solar panel hot spot inspection depends on distance and budget. For homeowners, installers and small-site technicians, the FLIR ONE Pro is a sensible, affordable way to screen modules at close range. For large rooftops, utility sites or warranty-grade reports, step up to a 640 × 480 camera such as the Fluke Ti480 PRO, or use a drone survey.

- COMPATIBILITY: Infrared camera plugs directly into phone charging port and connects with iphones with lightning port (ip…
- SUPER RESOLUTION: Vivid IR technology upscales the image to 480×360 from 160×120 for greater detail and clarity. Flir MS…
- THERMAL INSPECTION GUIDES: Within the Flir One app is a step-by-step inspection guide to help you address typical faults…
What Is a Solar Panel Hot Spot?
A hot spot is a cell, or a group of cells, running noticeably hotter than the cells around it. The cell is dissipating power as heat instead of passing current. Common causes are cracked or mismatched cells, shading and bird droppings, failed or shorted bypass diodes, poor ribbon or solder joints, and loose MC4 connectors.
Hot spots matter for two reasons. They cut output, and a severe one can damage the backsheet and encapsulant and become a fire risk. A thermography study covering more than 12 GW of PV plants reported a median hot spot rate of 1.4% of modules, with some plants far worse, and estimated energy losses of 0.5% to 3%. Research from DTU in Denmark found that shorted bypass diodes and heavy soiling produced hot spots from 80 °C to above 100 °C.
How Hot Is Too Hot? Reading ΔT
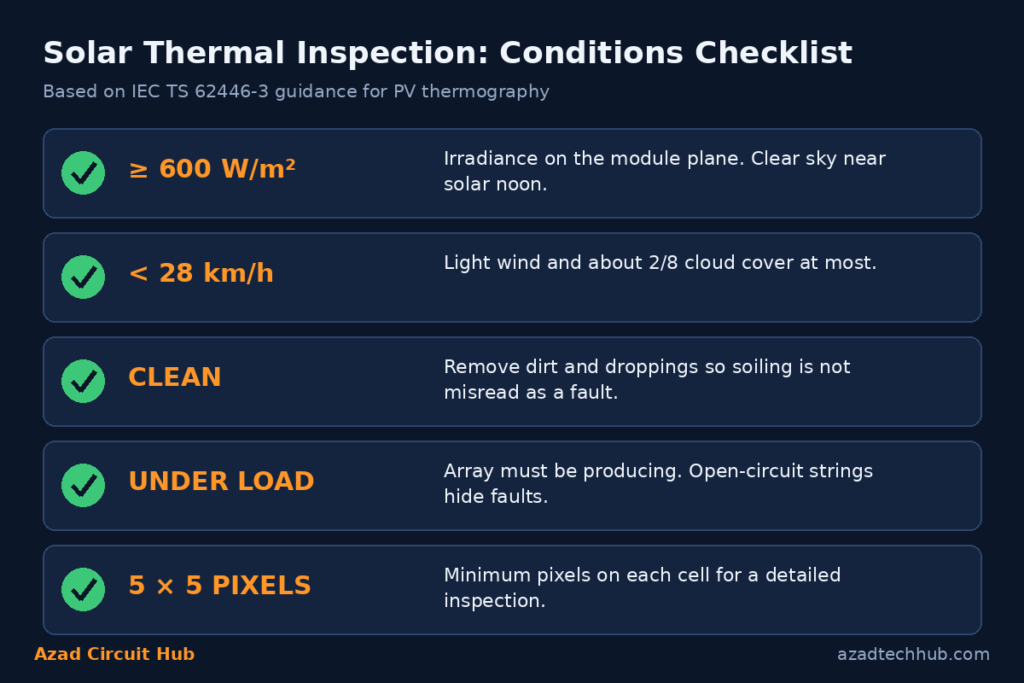
When you use a thermal camera for solar panel hot spot inspection, judge a hot spot by its temperature difference (ΔT) against healthy neighbouring cells, not by the absolute temperature. Sun, wind and module type all shift the absolute number. Inspectors commonly triage like this, but always check your module manufacturer’s warranty criteria, which can be stricter:
| ΔT vs neighbouring cells | Typical action |
|---|---|
| Below 10 °C | Log it and monitor at the next inspection |
| 10 to 20 °C | Plan maintenance and check the string current |
| Above 20 °C | Urgent: investigate and isolate if needed |
Conditions You Need Before You Scan
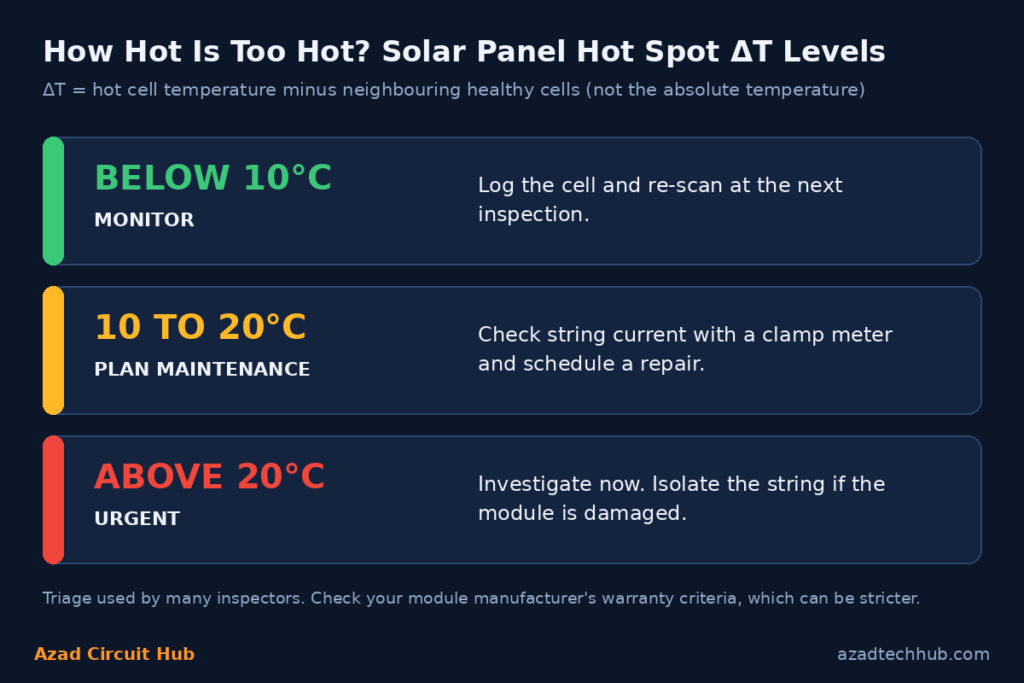
A thermal camera for solar panel hot spot inspection can miss a real fault in the wrong conditions. Guidance based on IEC TS 62446-3, the technical specification most PV thermography follows, calls for:
- Irradiance of at least 600 W/m² on the module plane. In practice that means a clear day around solar noon.
- Light wind, below roughly 28 km/h, and no more than about 2/8 cloud cover.
- Clean modules. Soiling creates its own hot spots and muddies the result.
- The array producing under load. An open-circuit string will not show normal fault heating.
- Enough pixels on each cell. For detailed inspections the specification asks for at least 5 × 5 pixels per cell, which is why distance and resolution go together.
Shoot at an angle of roughly 15 to 45 degrees off perpendicular. Straight-on shots tend to capture the reflection of the sky or of you.
Thermal imaging shows where the problem is, not why. Confirm a suspect string with a DC clamp reading or an IV curve test. My guides to the best clamp meter under $100, panel testers and circuit analyzers and test equipment and diagnostics cover the confirmation tools.
What to Look for in a Thermal Camera for Solar Panel Hot Spot Inspection
- Resolution. Many inspection guides suggest 320 × 240 or better for routine commercial surveys. Lower-resolution cameras still show large hot spots, but only at close range.
- Long-wave sensor. A thermal (long-wave, about 8 to 14 µm) camera avoids the solar reflection problems of shorter wavelengths.
- Radiometric readings. You need real temperature values so you can calculate ΔT, plus adjustable emissivity. Treat absolute temperatures on glass cautiously and trust the difference between cells.
- Field of view and distance. A wide lens covers more modules per shot but gives fewer pixels per cell.
- Documentation. A visible-light overlay and an app make it easy to tag which module and which junction box is hot.
Best Thermal Camera for Solar Panel Hot Spot Inspection (By Budget)
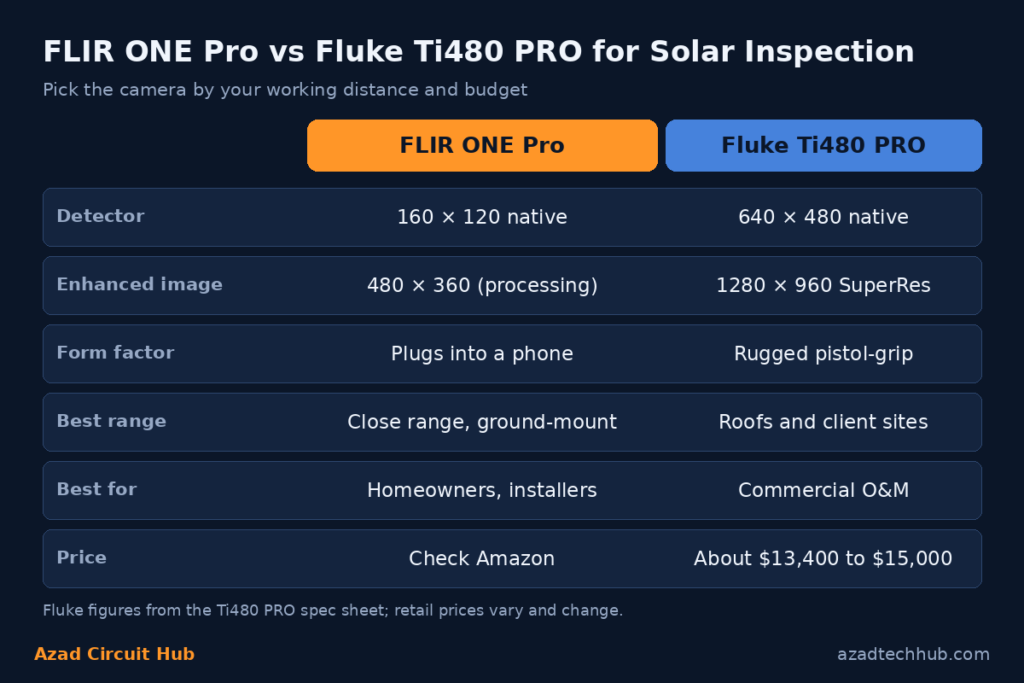
| Option | Resolution | Best for | Price reality |
|---|---|---|---|
| FLIR ONE Pro | 160 × 120 native, 480 × 360 enhanced | Homeowners, installers, close-range screening | Check Amazon |
| Dedicated handhelds | See my reviews | Regular inspections without a professional price tag | Compare in my under $500 guide |
| Fluke Ti480 PRO | 640 × 480, 1280 × 960 with SuperResolution | Commercial O&M and client reports | Roughly $13,400 to $15,000 |
FLIR ONE Pro: my pick for most readers
For a thermal camera for solar panel inspection that fits in a tool bag, the FLIR ONE Pro makes sense. It plugs into your phone, and FLIR’s MSX processing blends visible detail into the thermal image, so you can see which cell or junction box is hot. The 480 × 360 image is built from a 160 × 120 sensor through image processing, so it is not a native 480 × 360 detector. That matters for distance, which I cover below.
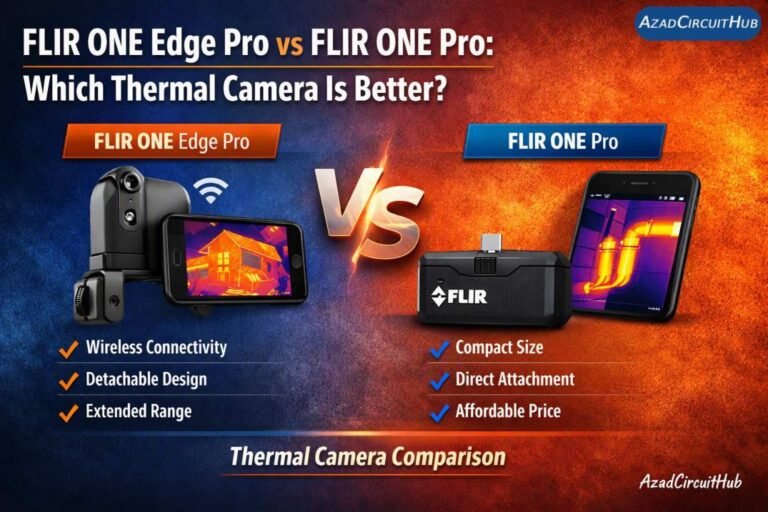
The model I reviewed is the USB-C version for iPhone 15 and newer, so confirm your phone before ordering. For the full test notes, read my FLIR ONE Pro review, the FLIR ONE Edge Pro vs FLIR ONE Pro comparison and FLIR ONE Pro vs Seek Thermal.
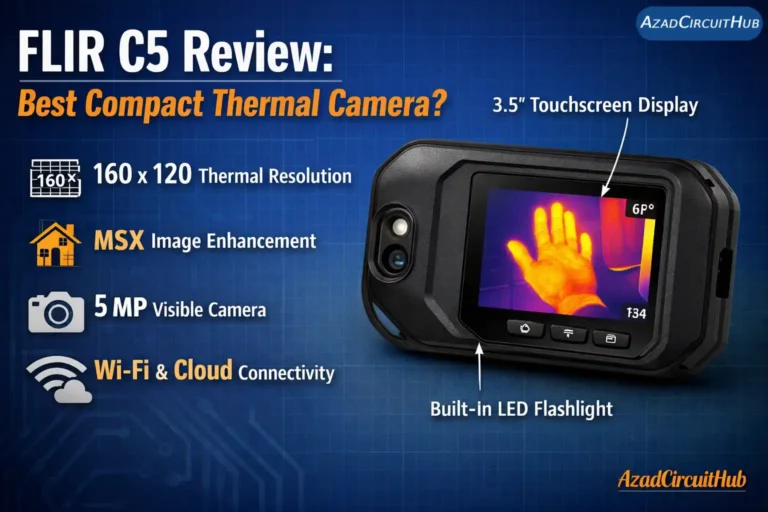
Want a standalone handheld instead? See the FLIR C5 review and the TOPDON TC004 review, or browse the Amazon idea list of thermal cameras.
Fluke Ti480 PRO Price: Is It Worth It for Solar Work?
US retailers list the Fluke Ti480 PRO at roughly $13,400 to $15,000 depending on the seller and kit, so budget about $14,000 and compare current prices before buying. For that money Fluke’s spec sheet gives you a 640 × 480 detector (1280 × 960 with SuperResolution), 0.93 mRad spatial resolution, a 34° × 24° field of view, interchangeable smart lenses including telephoto, and a measurement range of about -20 to 1,000 °C.
It pays for itself when you inspect commercial rooftops or client sites regularly and need cell-level detail from several metres away. It is overkill for a homeowner checking a residential array, where the FLIR ONE Pro costs a small fraction of the price.
How to Use the FLIR ONE Pro as a Thermal Camera for Solar Panel Hot Spot Inspection
- Check conditions. Wait for a clear day near solar noon and confirm the array is producing.
- Clean first. Remove bird droppings and heavy dust, or note them so you do not misread them as cell faults.
- Scan row by row at close range. Hold the phone at an angle and stay within a few metres. A single bright cell points to a cracked cell or bad solder joint. A bright rectangular block suggests a bypass diode problem. A hot MC4 connector or junction box points to a resistive connection.
- Compare, then record. Measure the hot area against its neighbours, note the ΔT, and save a visible and thermal image pair with the module position.
- Confirm and act. Check the string current with a clamp meter. Above 20 °C, treat it as urgent.
Safety: PV conductors stay live whenever the modules see light. Do not open connectors under load, and do not climb a roof without proper fall protection.
The honest limit: from the ground, a 160 × 120 sensor cannot resolve individual cells on a pitched roof array. It is best for ground-mount arrays, close inspection, rear-side junction boxes and obvious faults. It does not replace an IEC TS 62446-3 survey if you need documentation for a warranty or insurance claim. For general electrical use, my guide on how to use a thermal camera for electrical faults shows the technique.
Quick Answers to Related Questions
What is the best thermal camera for home inspections?
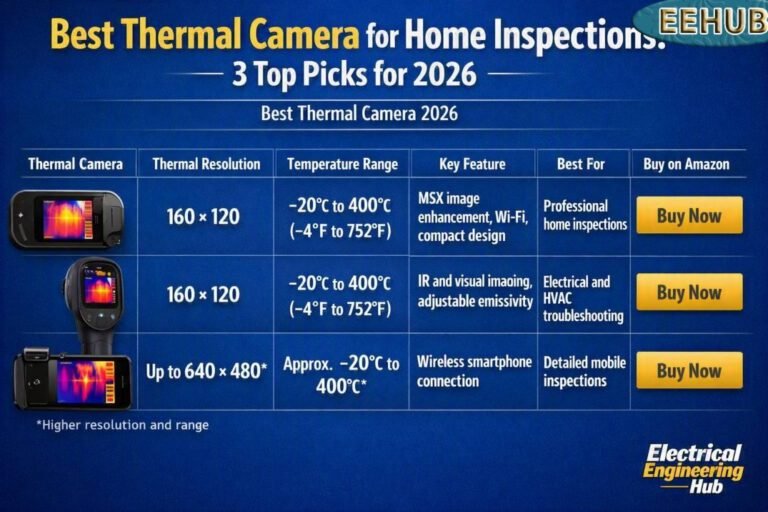
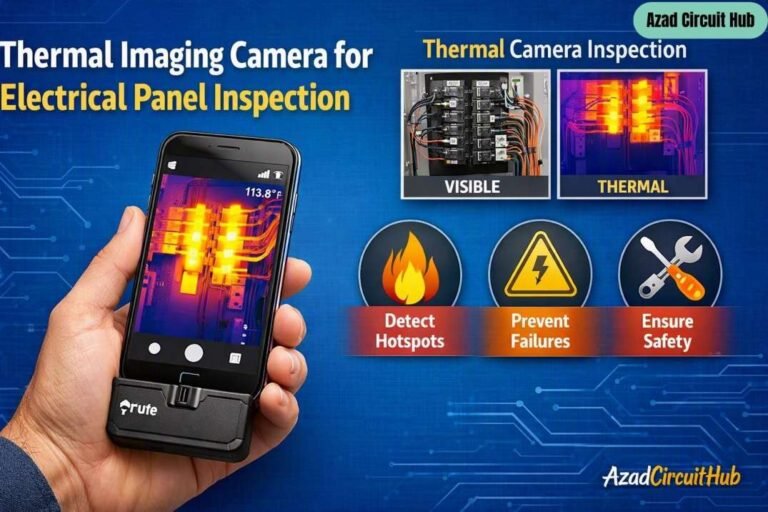
For moisture, insulation and electrical checks, a compact camera with at least 160 × 120 resolution and a visible-light overlay does the job. See my ranked guide, Best Thermal Camera for Home Inspections: 3 Top Picks for 2026, and the thermal imaging camera for electrical panel inspection review.
What is the 33% rule in solar panels?
It is not about thermography. In many US fire codes, if a rooftop array covers more than about 33% of the roof’s plan-view area, the ridge setback grows from about 18 inches to about 36 inches for firefighter access. It varies by local authority, so check with yours.
A separate, informal 33% rule refers to oversizing the PV array to about 133% of the inverter rating. Use my solar panel size calculator by load when planning array size.
What’s the difference between an infrared camera and a thermal camera?
In everyday talk the terms overlap, and every thermal camera is an infrared camera. Technically, a thermal camera detects the long-wave infrared (about 8 to 14 µm) that objects emit and can show temperature. Many products sold as infrared cameras, such as security cameras with IR LEDs, use near-infrared reflected light for night vision and cannot measure temperature. For solar inspection you need the thermal, radiometric type.
What is the best thermal camera for PCB inspection?
PCB work needs close focus and fine detail. A 160 × 120 camera like the FLIR ONE Pro can spot an overheating regulator, a shorted component or a hot trace, but it cannot resolve small SMD parts.
For fine-pitch boards look for a camera with a macro lens or a microscope-style thermal imager, and check the minimum focus distance. I have not reviewed PCB-specific imagers on this site, so I won’t name a winner here.
What does the Fluke Ti480 PRO cost?
Roughly $13,400 to $15,000 at US retailers, as covered above. Prices vary by kit and change often.
Is the FLIR ONE Pro good enough as a thermal camera for solar panel hot spot inspection?
Yes for close-range screening and obvious faults, no for cell-level surveys of large or high roofs. Match the camera to the distance you will shoot from.
Final Verdict: The Right Thermal Camera for Solar Panel Hot Spot Inspection
Pick the camera by your working distance. The FLIR ONE Pro is the practical, low-cost choice for homeowners and installers who can get close to the modules. The Fluke Ti480 PRO is for professionals who need cell-level detail at range and report-ready documentation. Whichever you choose, scan in strong sun, compare ΔT against neighbouring cells, and confirm every finding with electrical measurements. A thermal camera for solar panel hot spot inspection finds the suspect, and your meter proves the cause.
Related Guides and Tools on Azad Circuit Hub
- Thermal Imaging Camera Reviews (full category)
- Best Thermal Imaging Camera for Electricians: Top 5
- Best Thermal Imaging Camera Under $500
- Solar Performance Ratio Calculator
- Solar Panel Tilt Angle Calculator
- DC Cable Size Calculator
Get new guides in your feed. Follow Electrical Insights on LinkedIn for new electrical standards guides, calculators and design tips from Azad Circuit Hub.