Ultrasonic Sensor DC Motor Arduino Code: Important Example
For the Ultrasonic Sensor DC Motor Arduino Code, you’ll need to connect both the ultrasonic sensor and the motor to your Arduino board. Then write the code to trigger motor movement based on distance measurements from the sensor.
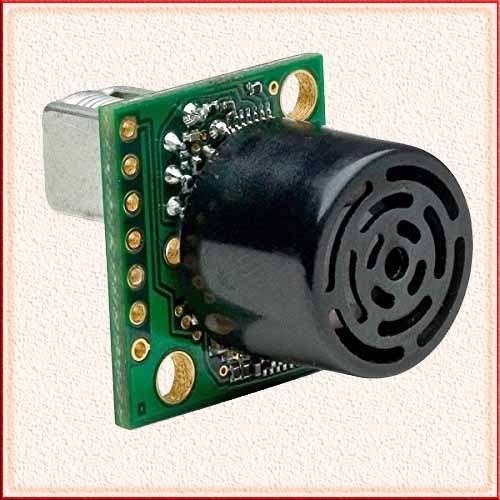
Table of Contents
What is an Ultrasonic Sensor?
An ultrasonic sensor is a device that utilizes sound waves at frequencies higher than the human audible range to measure distance, detect objects, or navigate within an environment. These sensors are commonly used in various applications, from industrial automation to robotics, due to their reliability, accuracy, and non-contact nature.
how does an ultrasonic sensor work?
Transmitter: The sensor consists of a transmitter that emits ultrasonic waves, which are sound waves with frequencies typically above 20,000 hertz (Hz), well beyond the range of human hearing.
Reflection: Once the ultrasonic waves are emitted, they travel through the air until they encounter an object. When the waves hit the object, they bounce back or reflect off it.
Receiver: The sensor also has a receiver that captures the reflected waves or echoes.
Time Measurement: The sensor measures the time it takes for the ultrasonic waves to travel from the transmitter, reflect off the object, and return to the receiver. This time measurement is crucial for calculating the distance between the sensor and the object.
Distance Calculation: Using the speed of sound in air (which is approximately 343 meters per second or 1125 feet per second at room temperature), the sensor calculates the distance to the object by multiplying the time taken for the round trip by half of the speed of sound.
The distance measured by the ultrasonic sensor is typically presented in centimeters or inches and can be used for various purposes, such as object detection, obstacle avoidance, or precise distance measurement. These sensors are especially popular in robotics for tasks like creating robots that can navigate through environments while avoiding collisions with objects.
Ultrasonic Sensor DC Motor Arduino Code
Here’s a simple example code for this setup:.
// Include the Servo library to control the DC motor

#include <Servo.h>

// Create instances of the Servo library for motor control

Servo motor;

// Define the pins for the ultrasonic sensor

const int trigPin = 9; // Trigger pin

const int echoPin = 10; // Echo pin

// Variables for ultrasonic sensor

long duration;

int distance;

// Define the pin for the DC motor

const int motorPin = 6; // Connect the motor to pin 6

void setup() {

  // Initialize the motor

  motor.attach(motorPin);

  // Initialize the ultrasonic sensor pins

  pinMode(trigPin, OUTPUT);

  pinMode(echoPin, INPUT);

  // Serial communication for debugging (optional)

  Serial.begin(9600);

}

void loop() {

  // Trigger the ultrasonic sensor to send a pulse

  digitalWrite(trigPin, LOW);

  delayMicroseconds(2);

  digitalWrite(trigPin, HIGH);

  delayMicroseconds(10);

  digitalWrite(trigPin, LOW);

  // Measure the duration of the pulse

  duration = pulseIn(echoPin, HIGH);

  // Calculate the distance in centimeters (you can adjust this for your specific sensor)

  distance = duration * 0.034 / 2;

  // Print the distance to the serial monitor (optional)

  Serial.print("Distance: ");

  Serial.print(distance);

  Serial.println(" cm");

  // Define a threshold distance for motor activation

  int thresholdDistance = 20; // Adjust this value as needed

  // Check if an object is within the threshold distance

  if (distance < thresholdDistance) {

    // If an object is detected, turn on the motor

    motor.write(90); // Set the motor to a specific angle (90 is the center position, adjust as needed)

    delay(1000); // Keep the motor on for 1 second (you can change the duration)

    motor.write(0); // Turn off the motor

  }

  // Delay for a moment before taking the next measurement

  delay(100); // Adjust the delay time as needed

}
This Ultrasonic Sensor DC Motor Arduino code uses a simple threshold distance (defined by threshold distance) to determine when to activate the DC motor. When an object is detected within the specified threshold distance, the motor turns on for a specified duration (1 second in this example) and then turns off.
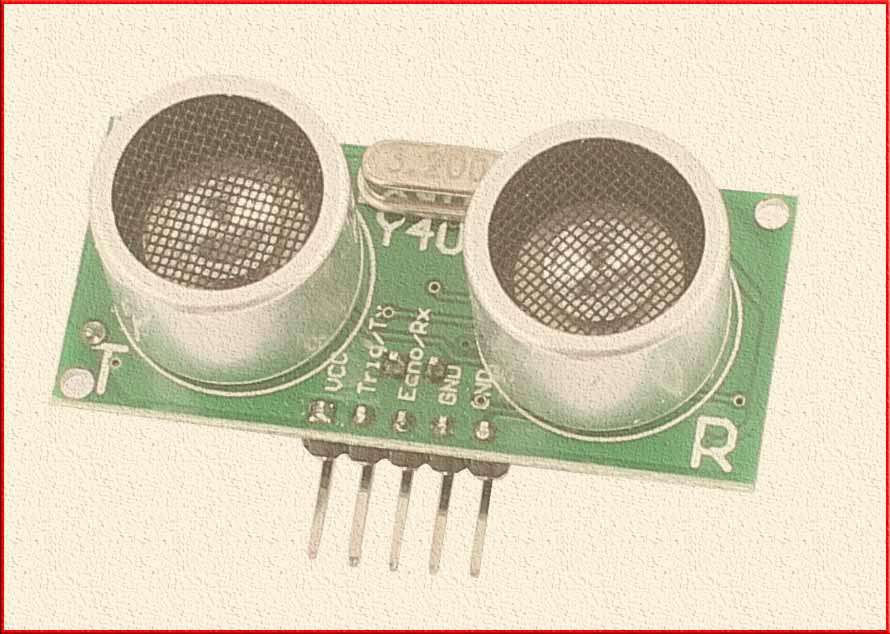
Adjust the threshold distance and motor control parameters to suit your specific project requirements. Please make sure to connect your ultrasonic sensor and DC motor to the correct pins on your Arduino board and adjust pin assignments in the code if necessary.
Follow us on LinkedIn”Electrical Insights” to get the latest updates in Electrical Engineering. You can also Follow us on LinkedIn and Facebook to see our latest posts on Electrical Engineering Topics.
Worth Read Posts
- Ultrasonic Motor: A Comprehensive Overview
- Servo Motors: High-Precision Control in Modern Technology
- Arduino Stepper Motor Projects: A Quick Guide
- Induction Motor: Important Types, Construction & Working
- Wound Rotor Induction Motor: Working & Important Applications
- Squirrel Cage Induction Motor: Working and Best Applications
- Brushless Motor(BLDC): Construction, Types & Applications
- Split Phase Induction Motor: Working & Best Applications
- Stepper Motor Position Control with Arduino: A Quick Guide
Follow Us on Social:
Subscribe our Newsletter on Electrical Insights for latest updates from Electrical Engineering Hub
#UltrasonicSensor, #DCMotor, #ArduinoCode, #ArduinoProjects, #UltrasonicSensorArduino, #MotorControl, #ArduinoProgramming, #SensorProjects, #DCMotorControl, #UltrasonicDistanceSensor, #DIYArduino, #ArduinoTutorial, #ArduinoMotorControl, #TechProjects, #EmbeddedSystems
