Servo Motor Ultrasonic Arduino: Important Concepts
The combination of a servo motor, an ultrasonic sensor, and an Arduino microcontroller forms a versatile and famous platform for creating projects that involve precise motion control and distance sensing.

This detailed overview will explore the concept, components, working principle, and common applications of a servo motor ultrasonic Arduino system.
Components of a Servo Motor Ultrasonic Arduino Setup
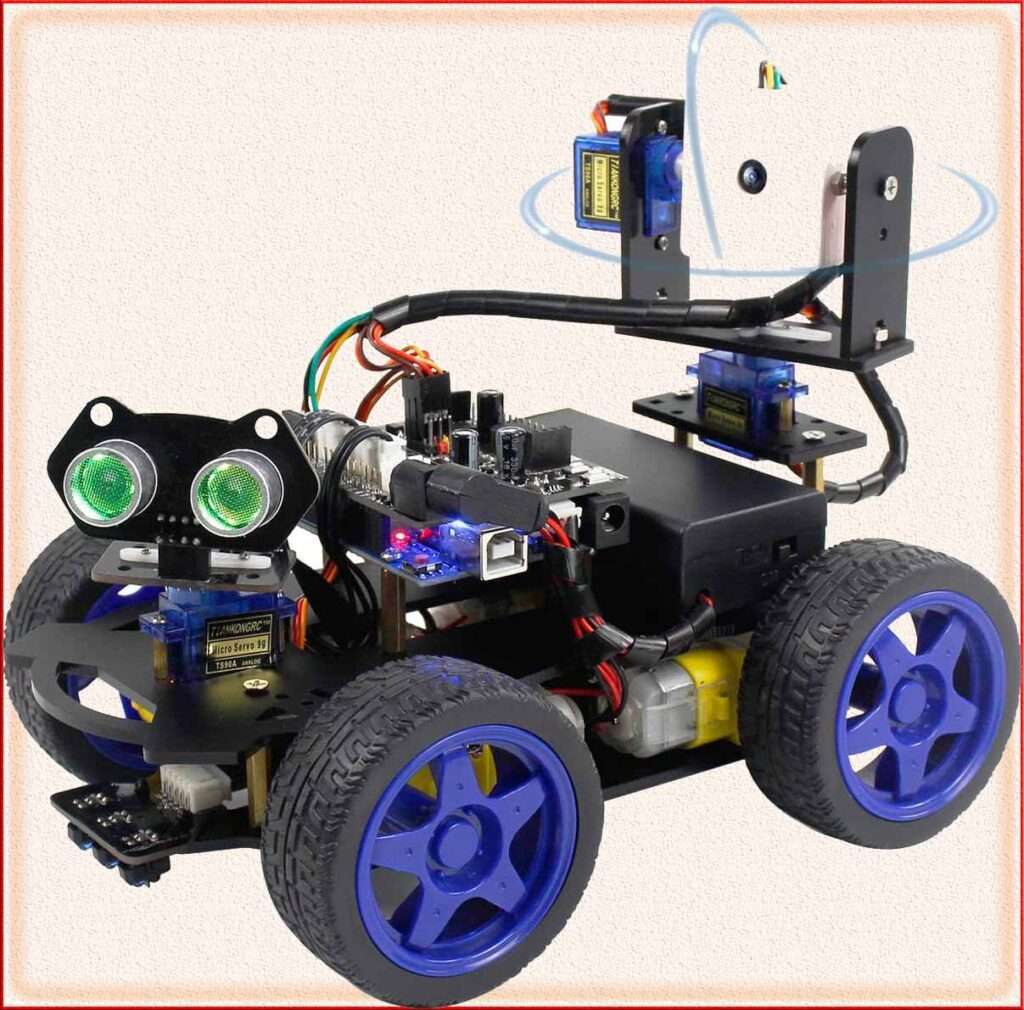
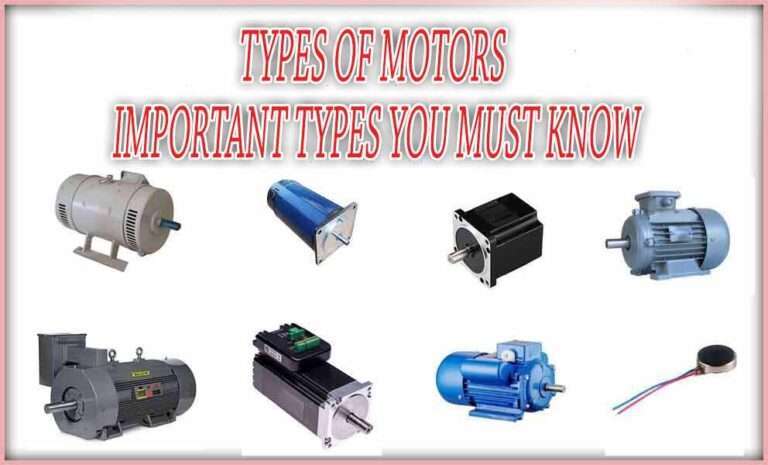
Servo Motor: A servo motor is a rotary actuator that allows for precise control of angular position. It consists of an engine, a feedback system (potentiometer or encoder), and a control circuit. Servo motors are known for their accuracy, stability, and ability to maintain a specific position.
Ultrasonic Sensor: An ultrasonic sensor, often referred to as an HC-SR04 sensor, is a device that emits ultrasonic waves and measures the time it takes for the waves to bounce off an object and return. This data is used to calculate the distance between the sensor and the object.
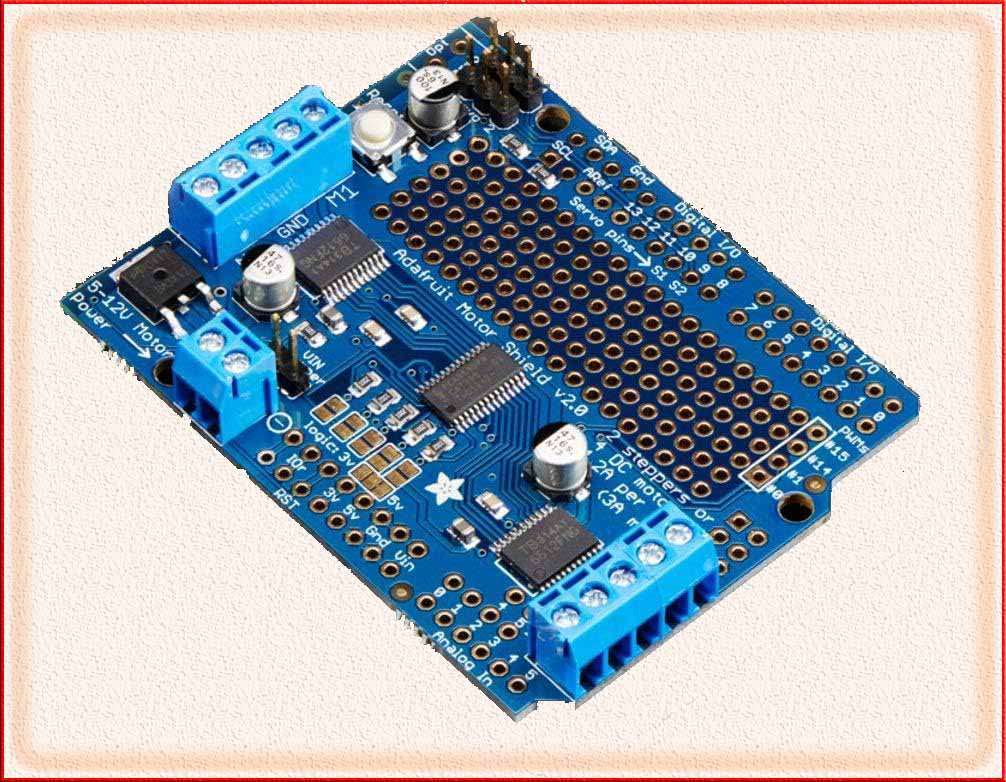
Arduino Microcontroller: The Arduino serves as the central controller, receiving data from the ultrasonic sensor and sending commands to the servo motor. It processes the distance data and determines how the servo motor should move based on programmed logic.

How the Servo Motor Ultrasonic Arduino Setup Works:
The operation of this setup involves several key steps:
Ultrasonic Sensor Data Acquisition: The ultrasonic sensor emits ultrasonic waves, which travel to an object and bounce back. By measuring the time it takes for the waves to return, the sensor calculates the distance between itself and the object.
Data Processing: The Arduino receives the distance data from the ultrasonic sensor. It can convert the data into usable units (e.g., centimeters or inches) and apply any necessary filtering or averaging to reduce noise.
Servo Motor Control Logic: Depending on the programmed logic, the Arduino determines how the servo motor should respond to the distance data. For example, it can command the servo motor to rotate to a specific angle based on the detected distance.
Servo Motor Positioning: The Arduino sends control signals to the servo motor to move it to the desired position. Servo motors are precise in their angular positioning and can hold their position accurately.
Continuous Monitoring: The ultrasonic sensor continues to provide real-time distance data, allowing the Arduino to continuously monitor the environment. The Arduino adjusts the servo motor’s position in real time, creating a dynamic system that responds to changes in proximity.

Applications of Servo Motor Ultrasonic Arduino Projects:
The servo motor ultrasonic Arduino combination offers a wide range of practical applications:
Pan-and-Tilt Camera Mount: Create a camera mount that can pan and tilt to follow a moving object or individual based on their distance from the sensor. This is useful for surveillance systems and robotics.
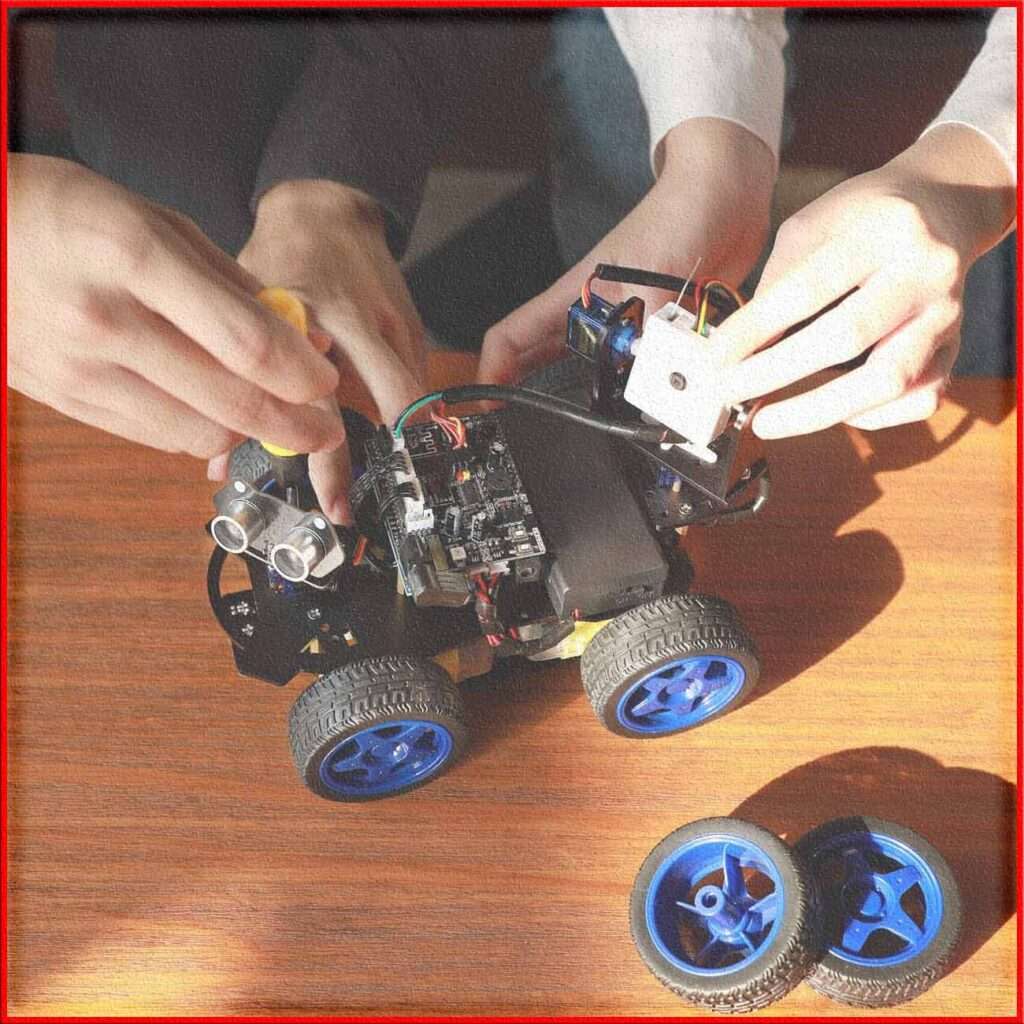
Obstacle Avoidance Robot: Build a robot that uses the ultrasonic sensor and servo motor to detect and avoid obstacles as it moves. This is fundamental in robotics and autonomous vehicles.
Automatic Door Opening System: Develop a door-opening system that responds to the presence of individuals. When someone approaches the door, the servo motor can open it, providing hands-free access.
Interactive Displays: Utilize this setup to create interactive exhibits or displays in museums or retail environments. The servo motor can move objects or display screens to engage visitors based on their proximity.
Gimbal Stabilization: Implement a gimbal system that stabilizes a camera or sensor platform by adjusting its orientation in response to changes in the environment. This is valuable in aerial photography and videography.
Gesture-Controlled Devices: By combining ultrasonic sensors, servo motors, and gesture recognition algorithms, you can create gesture-controlled devices that respond to hand movements.
Home Automation: Apply this setup to automate tasks in a smart home context. For example, control blinds or curtains to adjust lighting and privacy based on occupancy.
Educational Demonstrations: Use the servo motor ultrasonic Arduino projects as educational tools in schools and STEM programs to teach students about electronics, programming, and automation principles through hands-on experiences and engaging demonstrations.
In conclusion, the servo motor ultrasonic Arduino system provides a versatile platform for creating interactive, responsive, and precise projects across various domains. Its ability to combine distance sensing with controlled motion opens up opportunities for innovation in automation, robotics, smart devices, and interactive installations.
Worth Read Posts
- Ultrasonic Motor: A Comprehensive Overview
- Servo Motors: High-Precision Control in Modern Technology
- Arduino Stepper Motor Projects: A Quick Guide
- Induction Motor: Important Types, Construction & Working
- Wound Rotor Induction Motor: Working & Important Applications
- Squirrel Cage Induction Motor: Working and Best Applications
- Brushless Motor(BLDC): Construction, Types & Applications
- Split Phase Induction Motor: Working & Best Applications
- Stepper Motor Position Control with Arduino: A Quick Guide
Follow Us on Social:
Subscribe our Newsletter on Electrical Insights for latest updates from Electrical Engineering Hub
#ServoMotor, #Arduino, #UltrasonicSensor, #ArduinoProjects, #ServoMotorControl, #UltrasonicDistanceMeasurement, #IoTProjects, #TechInnovation, #SmartTechnology, #DIYArduino, #ArduinoAutomation, #MotorControl, #ServoMotorArduino, #UltrasonicArduino, #Robotics


