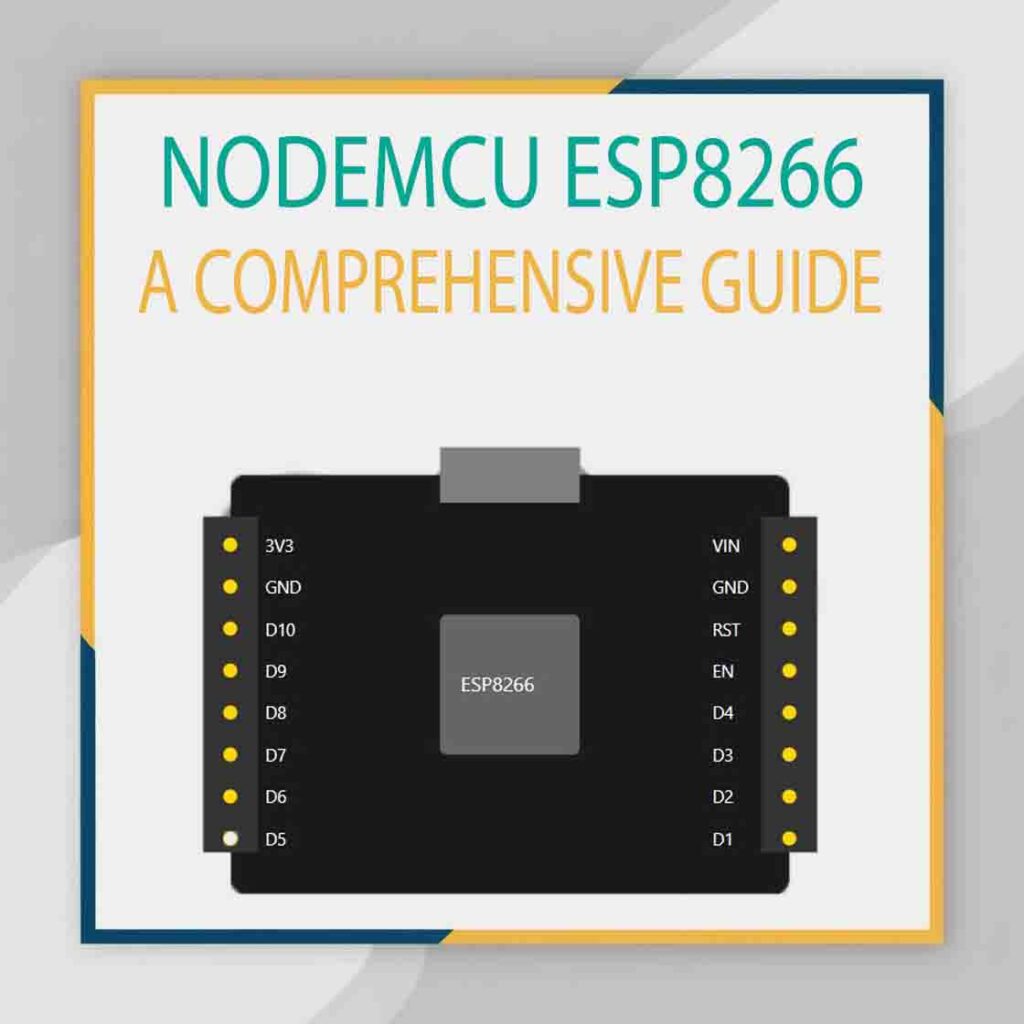
NodeMCU ESP8266: A Comprehensive Guide
The NodeMCU ESP8266 is a powerful, low-cost, and versatile Wi-Fi module, widely used in IoT applications. This module is highly popular among developers for its simplicity, availability, and compatibility with various microcontroller applications. With GPIO pins and easy connectivity, it enables projects ranging from home automation to robotics.

Table of Contents
What is NodeMCU ESP8266?
NodeMCU ESP8266 is an open-source IoT platform, built around the ESP8266 Wi-Fi module. This module integrates a microcontroller with a Wi-Fi chip, allowing direct access to the Internet. It’s suitable for prototyping IoT projects due to its onboard programming capability and compatibility with the Lua scripting language.
Key Features of NodeMCU ESP8266
- Wi-Fi Capability: Connects directly to Wi-Fi, making it ideal for IoT applications.
- GPIO Pins: Offers flexible GPIO (General Purpose Input/Output) pins for connecting sensors and actuators.
- Compact Size: Small form factor allows it to fit into a variety of applications.
- USB Interface: Simple programming with a built-in USB interface.
- Cost-Effective: Affordable compared to other Wi-Fi-enabled microcontrollers.
ESP8266 Pin Diagram and GPIO Pinout
Understanding the ESP8266 pin diagram is essential to using it effectively. Each pin on the NodeMCU ESP8266 serves specific functions, making it critical to know their layout and uses.
NodeMCU ESP8266 Pinout
The NodeMCU pinout provides various GPIO pins, ADC (Analog-to-Digital Converter) input, and a reset pin. Here’s an overview of some important pins:
- VCC (3.3V): Powers the ESP8266. Using any higher voltage could damage the board.
- GND: Ground connection.
- D0-D8: Digital GPIO pins, usable for digital I/O functions, PWM, I2C, SPI, etc.
- A0: Analog input pin for reading analog sensors.
- TX/RX: Serial communication pins used for UART communication.

For further information, consult the ESP8266 datasheet, which details each pin’s technical specifications.
D1 Mini Pinout and Wemos D1 Mini
The Wemos D1 Mini is another popular version of the ESP8266, especially known for its compact size and ease of use in tight spaces. It has a similar layout to the NodeMCU pinout, but the smaller size makes it ideal for more compact IoT devices.
ESP8266 GPIO Pin Configuration
The GPIO pins of the NodeMCU ESP8266 can be configured for a variety of purposes:
- Digital Read/Write: Used for digital signals like turning LEDs on or off.
- PWM (Pulse Width Modulation): Controls brightness in LEDs or speed in motors.
- I2C/SPI Communication: Interfaces with sensors, such as temperature or pressure sensors.
How to Get Started with NodeMCU ESP8266
Using NodeMCU ESP8266 is straightforward. The steps below guide you through setting up and programming it.
Step 1: Install the Arduino IDE
- Download the Arduino IDE from the official website.
- Go to File > Preferences and add the ESP8266 board manager URL to the Additional Board Manager URLs.
Step 2: Add ESP8266 to Arduino IDE
- Open Board Manager (Tools > Board > Boards Manager).
- Search for “ESP8266” and install it.
- Select the NodeMCU ESP8266 board from the boards list.
Step 3: Write and Upload Code
Once the IDE setup is complete, you can start writing code to control devices connected to your ESP8266 GPIO pins. Here’s a basic example to blink an LED connected to GPIO 2.
void setup() {
  pinMode(2, OUTPUT);
}

void loop() {
  digitalWrite(2, HIGH);
  delay(1000);
  digitalWrite(2, LOW);
  delay(1000);
}
Step 4: Use the Serial Monitor for Debugging
You can view the Serial Monitor in the Arduino IDE (Tools > Serial Monitor) to see print statements from your code. This is useful for debugging.
Using the ESP8266 Wi-Fi Module
A key feature of the NodeMCU ESP8266 is its Wi-Fi capability. The module allows you to connect to Wi-Fi networks, enabling IoT applications. Below is a sample code snippet for connecting the NodeMCU to Wi-Fi.
#include <ESP8266WiFi.h>

const char* ssid = "your_SSID";
const char* password = "your_PASSWORD";

void setup() {
  Serial.begin(115200);
  WiFi.begin(ssid, password);

  while (WiFi.status() != WL_CONNECTED) {
    delay(1000);
    Serial.println("Connecting...");
  }

  Serial.println("Connected!");
}

void loop() {
  // Add your main code here
}
NodeMCU ESP8266 Applications
The ESP8266 NodeMCU can be used for a variety of projects:
- Home Automation: Control lights, fans, and appliances through Wi-Fi.
- Environmental Monitoring: Monitor temperature, humidity, and other environmental factors.
- Security Systems: Set up simple surveillance or motion detection systems.
- Remote Control: Use it to remotely control drones or vehicles.
Common Projects with NodeMCU ESP8266
- Wi-Fi-enabled Switch: Control devices like fans or lights using a web-based interface.
- Weather Station: Collect temperature and humidity data and send it to a server.
- Remote Sensor: Send sensor data to a remote location for monitoring.
Accessing the ESP8266 Datasheet
The ESP8266 datasheet provides detailed information about its hardware specifications, electrical characteristics, and GPIO pin functionality. Consulting the datasheet is beneficial for advanced applications and troubleshooting.
Conclusion
The NodeMCU ESP8266 is a versatile, affordable, and Wi-Fi-enabled microcontroller that simplifies IoT projects. With its easily programmable GPIO pins and Wi-Fi module, it opens doors to endless applications, from home automation to environmental monitoring.
Whether you’re a hobbyist or an experienced developer, the NodeMCU ESP8266 offers the features needed to build robust IoT solutions. Consult resources like the ESP8266 datasheet and experiment with various projects to fully unlock the potential of this powerful module.
Worth Read Posts
Follow us on LinkedIn”Electrical Insights” to get the latest updates in Electrical Engineering. You can also Follow us LinkedIn and Facebook to see our latest posts on Electrical Engineering Topics.
NodeMCU, #ESP8266, #IoTDevelopment, #EmbeddedSystems, #Microcontrollers, #WiFiModule, #ArduinoProjects, #HomeAutomation, #ElectronicsGuide, #ESP8266Projects, #DIYElectronics, #IoTTutorials, #SmartDevices, #TechGuide, #ProgrammingESP8266


