DIY EV Charger Installation: A Step-by-Step Safety Guide
Electric vehicles (EVs) are becoming more common on roads worldwide. Many owners are looking for ways to charge their cars at home. Public charging stations are useful, but the convenience of charging in your own garage is unmatched. This is why DIY EV Charger Installation is a topic gaining attention among EV users.
Home installation may seem tempting because it saves cost and offers flexibility. However, working with electricity requires caution, proper planning, and compliance with safety codes. A careless mistake can lead to accidents, fire hazards, or even void your vehicle warranty. Understanding each step before beginning is essential to ensure both safety and efficiency.
Table of Contents
Table of Contents
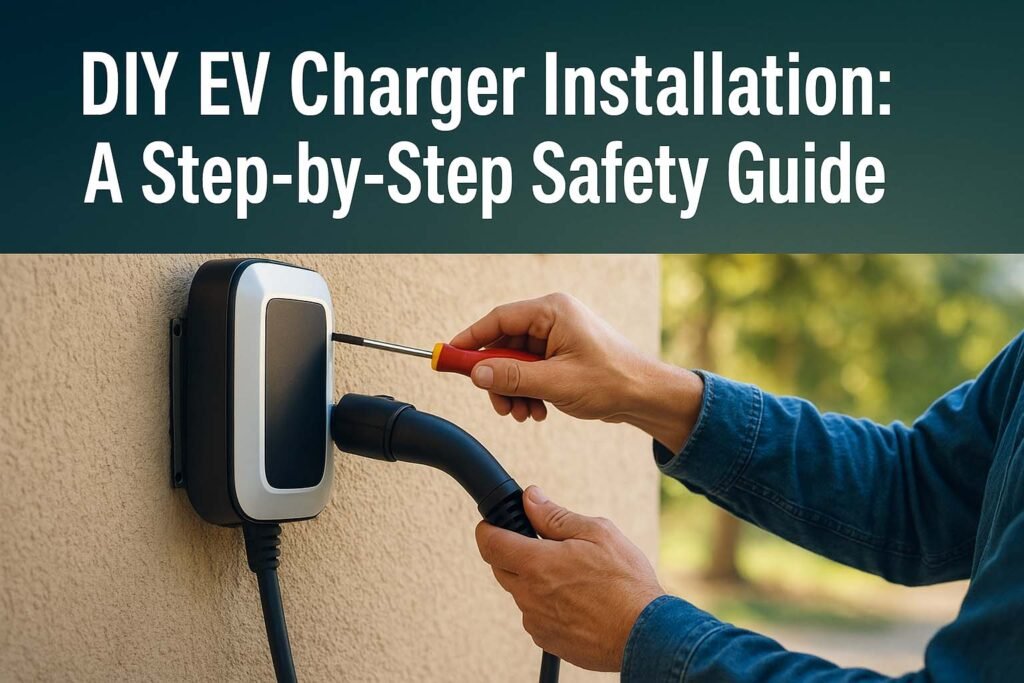
This guide will explain how to carry out a DIY EV Charger Installation in a safe and structured way. It will highlight what you should prepare, the tools you need, and the electrical requirements to consider. You will also learn when to involve a certified electrician and how to keep your installation future-ready.
Key Takeaways
- DIY EV Charger Installation can save money but requires strict safety practices.
- Always check your local electrical codes and permits before starting.
- Choosing the right charger size is crucial for performance and safety.
- Proper grounding, wiring, and load calculations ensure long-term reliability.
- Hiring a licensed electrician for final connections is strongly recommended.
Know more about Wallbox EV Charger: Cost of Unit & Installation Guide 2025
Understanding DIY EV Charger Installation Basics
DIY EV Charger Installation starts with knowledge of how home charging works. EV chargers are classified into three levels:
| Charger Type | Voltage | Charging Speed | Common Use |
|---|---|---|---|
| Level 1 | 120V | 3–5 miles per hour | Standard outlet, very slow |
| Level 2 | 240V | 20–60 miles per hour | Home and workplace charging |
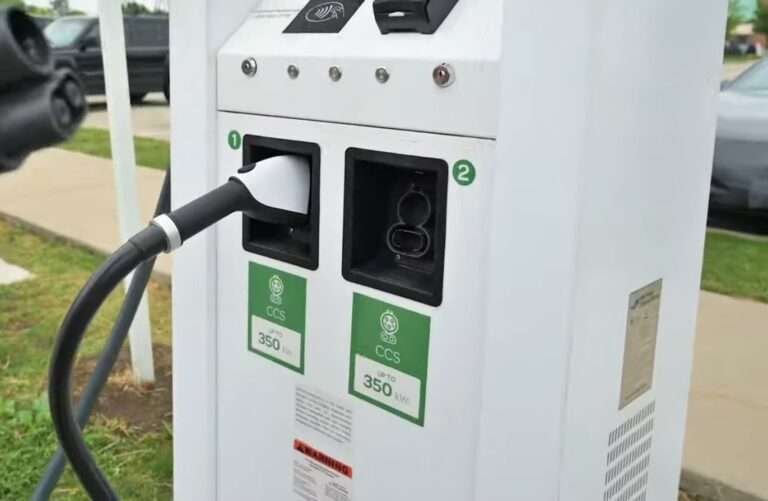
| Level 3 (DC Fast) | 480V+ | 80% charge in 30 minutes | Commercial charging stations |
For home use, Level 2 is the most practical choice. It balances charging speed and installation cost. A Level 2 EV charger requires a 240V circuit, which may need upgrades in your breaker panel.
Before attempting any DIY EV Charger Installation, you must check your home’s electrical capacity. Most older homes are not designed to handle additional heavy loads. A load calculation will help determine if your electrical service can support a new 40A or 50A circuit.
Safety Considerations Before Starting DIY EV Charger Installation
Safety is the foundation of any DIY EV Charger Installation. Electricity is dangerous if not handled correctly. Here are important precautions:
- Always turn off the main power before touching wires.
- Use tools with insulated handles.
- Follow local building codes and obtain necessary permits.
- Wear protective gear like gloves and safety glasses.
Fire risk is a major concern. Overloaded wires can overheat and cause damage. Properly rated circuit breakers and wiring sizes prevent such hazards. For example, a 40-amp charger usually requires 8-gauge copper wire.
It’s also important to understand grounding. Grounding protects you and your EV from electrical faults. Every charger must be grounded according to NEC (National Electrical Code) or equivalent local standards.
Know more about How Much Does a Public EV Charging Station Cost in 2025
Tools and Materials Needed for DIY EV Charger Installation
DIY EV Charger Installation requires specific tools and materials. Having them ready ensures a smooth process.
| Tools | Materials |
|---|---|
| Voltage tester | EV Charger (Level 2 recommended) |
| Drill and bits | Copper wire (8 AWG or as required) |
| Wire strippers | Circuit breaker (40A–50A) |
| Screwdrivers | Conduit and fittings |
| Multimeter | Junction box and outlet |
| Safety gloves | Grounding rod and wire |
Investing in quality tools reduces mistakes and increases safety. Using the wrong gauge wire or breaker size can damage your EV charger.
Step-by-Step DIY EV Charger Installation
A structured approach helps reduce errors. Below is a simplified process to follow:
Step 1: Choose the Charger Location
Select a spot near your parking space. The charger should be close enough to reach your vehicle easily. Keep it away from direct water exposure. Good ventilation is also important.
Step 2: Assess Electrical Panel Capacity
Check your breaker panel for available slots. If your home has 200A service, adding a 40A EV charger is usually manageable. For older 100A panels, upgrades may be required.
Know more about Tax Credit for Business EV Charger Installation: 2025 Incentives & How to Qualify
Step 3: Install a Dedicated Circuit
Run a new 240V circuit from the panel to the charger location. This prevents interference with other appliances. Use appropriately sized copper wire and conduit.
Step 4: Mount the Charger
Follow the manufacturer’s instructions for mounting. Most chargers can be wall-mounted with screws and brackets. Ensure the surface is stable and can hold the weight.
Step 5: Wire the Connections
Turn off the main power. Connect the hot wires, neutral, and ground to the breaker panel and charger terminals. Double-check with a voltage tester before powering on.
Step 6: Test the System
Switch on the breaker and check the charger display. Plug in your EV to confirm proper charging. If the charger trips the breaker, recheck wiring and connections.
Cost Comparison: DIY vs Professional Installation
| Installation Type | Average Cost | Pros | Cons |
|---|---|---|---|
| DIY EV Charger Installation | $400–$700 (materials only) | Saves labor cost, learning experience | Risk of errors, code violations, safety hazards |
| Professional Installation | $800–$2000 | Safe, code-compliant, warranty protection | Higher cost |
DIY EV Charger Installation may save money upfront, but professional installation ensures compliance and long-term safety. Many EV manufacturers also recommend professional installation for warranty protection.
Know more about JuiceBox vs ChargePoint Home Flex: 2025 In-Depth Comparison
Common Mistakes in DIY EV Charger Installation
Mistakes can turn a cost-saving project into a costly repair. The most common issues include:
- Using undersized wires leading to overheating.
- Ignoring local code requirements.
- Skipping permits and inspections.
- Installing the charger too far from the car.
- Forgetting proper grounding.
These errors reduce charger efficiency and increase fire risks. Always double-check your work and seek professional advice when in doubt.
When to Call an Electrician
Even if you prefer DIY EV Charger Installation, some tasks require licensed electricians. You should hire a professional when:
- Your panel lacks free breaker slots.
- The main service is below 200A.
- You are unsure about wiring connections.
- Local codes mandate certified installation.
In many regions, electrical permits are only issued to licensed electricians. Skipping this requirement may lead to penalties.
Future-Proofing Your DIY EV Charger Installation
EV adoption is growing rapidly. Planning ahead can save you future costs. Consider installing a higher-capacity circuit, such as 60A, even if your current EV only needs 40A. This allows you to charge faster or upgrade to newer EV models later.
Smart chargers are another investment. They allow scheduling, energy monitoring, and load balancing. Pairing your charger with solar panels can also lower your energy bills.
Maintenance Tips for Long-Term Reliability
Once your DIY EV Charger Installation is complete, regular maintenance keeps it safe. Inspect wires and connections every few months. Keep the charger clean and free from dust. Avoid using extension cords as they reduce efficiency.
If you notice unusual heating, tripped breakers, or charging interruptions, disconnect the charger and call a technician. Preventive checks extend the lifespan of both your charger and vehicle battery.
Know more about Hardwired vs Plug In EV Charger: Which is Better for Your Home?
Conclusion
DIY EV Charger Installation can be a rewarding project if done with care. It provides convenience, faster charging, and savings on installation costs. However, safety must always come first. Proper planning, correct tools, and knowledge of electrical codes are essential.
While you can handle basic tasks such as mounting and conduit installation, final wiring is best done by a licensed electrician. This ensures compliance, protects warranties, and keeps your home safe.
As EV ownership grows, having a home charging station will add value to your property and improve your driving experience. By following this step-by-step guide, you can approach DIY EV Charger Installation with confidence and awareness.
Follow Us on Social:
Subscribe our Newsletter on Electrical Insights for latest updates from Electrical Engineering Hub
#DIYEVChargerInstallation, #EVChargerInstallation, #HomeEVCharging, #DIYChargerSetup, #EVChargerGuide, #ElectricCarCharger, #EVChargerSafety, #InstallEVCharger, #DIYHomeCharging, #EVChargingSolutions, #EVChargerTips, #DIYChargerSafety, #EVChargerProjects, #ElectricVehicleCharging, #EVHomeCharger

![Best EV Chargers for Hotels & Guest Accommodations [Commercial Grade] 4 Best EV Chargers for Hotels & Guest Accommodations [Commercial Grade]](https://azadtechhub.com/wp-content/uploads/2025/10/Best-EV-Chargers-for-Hotels-Guest-Accommodations-Commercial-Grade-768x512.jpg)

