Circuit Breaker Testing Procedure: Important Guide
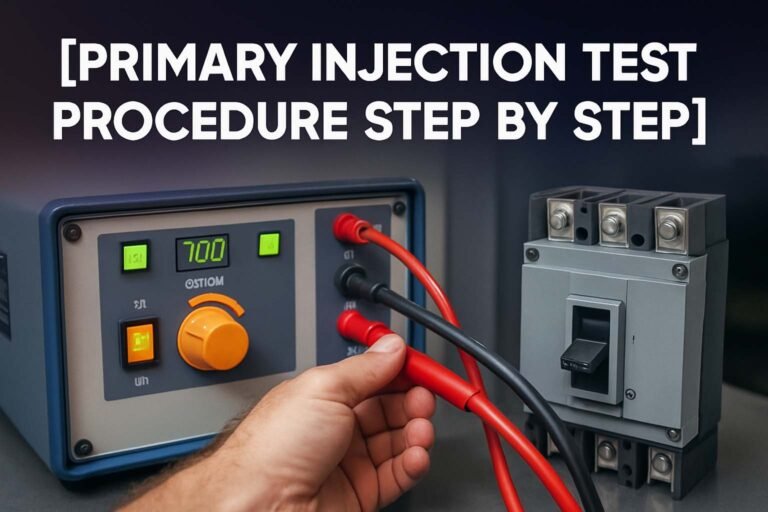
Circuit breakers are critical components in electrical systems, designed to protect circuits from overloads and short circuits. Regular testing ensures that these devices operate reliably and effectively when needed. In this guide, we will discuss the circuit breaker testing procedure, its importance, and the key steps involved.

Table of Contents
Circuit Breaker Testing Procedure
What is Circuit Breaker Testing?
Circuit breaker testing refers to a series of tests performed to verify the performance, reliability, and condition of circuit breakers. These tests ensure that the circuit breaker will function correctly during abnormal conditions such as overloads or faults.
Importance of Circuit Breaker Testing
- Ensures Reliability: Regular testing confirms the circuit breaker can trip under fault conditions.
- Prevents Equipment Damage: Properly functioning breakers help avoid costly damage to electrical systems.
- Improves Safety: Testing ensures protection for personnel working with electrical equipment.
- Compliance with Standards: Adhering to standards like IEC or ANSI through testing is often mandatory for industrial and commercial setups.
Types of Circuit Breaker Tests
Various tests are conducted on circuit breakers to check their electrical, mechanical, and thermal performance. Below are the most common ones:
- Contact Resistance Test: Measures the resistance across the breaker contacts to ensure minimal voltage drop.
- Insulation Resistance Test: Checks the insulation’s ability to withstand high voltage.
- Timing Test: Measures the time it takes for the breaker to operate after detecting a fault.
- Trip Coil and Mechanism Test: Evaluates the functionality of the trip coil and mechanical operation.
- Dielectric Test: Tests the breaker’s ability to handle overvoltage without breakdown.
- Dynamic Contact Resistance Test (DCRM): Assesses contact movement and resistance during operation.
Circuit Breaker Testing Procedure
Below is a detailed step-by-step guide on the circuit breaker testing procedure:
1. Pre-Testing Preparation
Before performing any tests, it is essential to ensure safety and readiness:
- Isolate the Circuit Breaker: Disconnect the breaker from the power supply.
- Inspect the Breaker: Check for visible damages, wear, or loose connections.
- Review Documentation: Refer to the manufacturer’s manual and previous test reports.
- Calibrate Testing Instruments: Ensure all testing devices are calibrated for accurate results.
2. Contact Resistance Test
This test measures the resistance across closed breaker contacts.
- Connect the micro-ohmmeter across the breaker contacts.
- Apply a low DC current (100A or more).
- Record the resistance value, which should ideally be very low. High resistance indicates worn or dirty contacts.
3. Insulation Resistance Test
The insulation resistance test determines the quality of the insulation between breaker components.
- Use an insulation tester (megger).
- Connect the test leads between:
- Phase to ground.
- Phase to phase (in case of multi-pole breakers).
- Apply the recommended voltage (500V, 1000V, or higher as per standards).
- Record the insulation resistance value. A low value indicates insulation deterioration.
4. Timing Test
This test ensures that the breaker operates within its designed time limits.
- Use a breaker timer or a relay test set.
- Energize the breaker trip circuit.
- Measure the time taken for the breaker to open and close.
- Compare the results with manufacturer specifications.
5. Trip Coil Test
To evaluate the functionality of the trip coil and mechanism:
- Apply the rated voltage to the trip coil.
- Verify if the breaker trips immediately.
- Check for unusual sounds or delays in operation.
6. Dielectric Test
The dielectric test assesses the breaker’s ability to handle overvoltage.
- Disconnect all equipment connected to the breaker.
- Use a high voltage test set.
- Gradually increase the test voltage to the specified level (as per IEC or ANSI standards).
- Monitor for any insulation breakdown or excessive leakage current.
7. Dynamic Contact Resistance Test (DCRM)
DCRM measures contact resistance during the operation of the breaker.
- Use a dynamic contact resistance measuring device.
- Operate the breaker and record resistance changes throughout the process.
- Analyze the contact movement and resistance trends for abnormalities.
8. Visual and Mechanical Inspection
Finally, conduct a thorough inspection of the breaker:
- Check the mechanical components for wear, misalignment, or damage.
- Test manual and electrical operations.
- Verify the condition of arc chutes, lubricants, and springs.
Post-Testing Steps
Once all tests are complete, follow these steps:
- Record Test Results: Document all test data for analysis and future reference.
- Compare with Standards: Ensure results meet IEC, ANSI, or manufacturer specifications.
- Perform Maintenance: If any test results are unsatisfactory, perform corrective maintenance.
- Reinstall the Breaker: After successful testing, reconnect the breaker to the system.
Tools and Equipment Required for Circuit Breaker Testing
To perform circuit breaker testing, you will need:
- Micro-ohmmeter.
- Insulation resistance tester.
- Breaker timing device.
- High voltage test set.
- DCRM equipment.
- Multimeter.
- Clamp meter.
- Manufacturer’s documentation.
Best Practices for Circuit Breaker Testing
- Always follow safety guidelines, including wearing personal protective equipment (PPE).
- Adhere to manufacturer-recommended testing intervals.
- Perform tests in a controlled environment to avoid external interference.
- Use calibrated and certified testing instruments for accurate results.
- Record and analyze historical data to identify trends and potential issues.
When to Perform Circuit Breaker Testing?
The frequency of testing depends on the application and environmental conditions:
- Routine Testing: Annually or as per manufacturer recommendations.
- After Major Faults: Immediately after the breaker trips during a fault.
- Before Commissioning: Before installing a new breaker.
- Periodic Maintenance: During scheduled maintenance intervals.
Conclusion
Regular circuit breaker testing is vital to ensure the reliability and safety of electrical systems. By following the detailed circuit breaker testing procedure outlined above, you can identify potential issues early, ensure compliance with standards, and extend the lifespan of your breakers. Proper testing not only protects equipment and personnel but also enhances overall system performance.
By implementing these procedures and best practices, you can ensure that your circuit breakers remain in optimal condition, ready to perform when needed.
1. What is the purpose of testing circuit breakers?
Testing circuit breakers ensures they function correctly and safely to protect electrical systems from overcurrents, short circuits, and other faults. Regular testing verifies performance, identifies wear and tear, and prevents unexpected failures.
2. What are the common types of tests performed on circuit breakers?
The common tests include:
Visual Inspection: Checking for physical damage or abnormalities.
Contact Resistance Test: Measuring resistance across closed contacts.
Insulation Resistance Test: Testing insulation strength using a megger.
Timing Test: Assessing opening and closing times.
Trip Test: Verifying the tripping mechanism under fault conditions.
High-Potential (Hi-Pot) Test: Checking dielectric strength of insulation.
3. How is the contact resistance test performed?
A micro-ohmmeter is used to measure the resistance across the breaker contacts when closed. Low resistance values indicate good contact; high resistance may suggest wear, corrosion, or loose connections.
4. What is insulation resistance testing, and why is it important?
Insulation resistance testing involves applying a DC voltage (commonly using a megger) to measure the resistance between the circuit breaker’s conductive parts and its insulation. This test ensures the insulation is intact and prevents leakage currents or short circuits.
5. What is the significance of the timing test in circuit breaker testing?
Timing tests measure the operating time (opening and closing) of the circuit breaker. Accurate timing ensures that the breaker will respond promptly to faults, minimizing damage to the system and improving overall reliability.
6. What is the high-potential (Hi-Pot) test, and when is it used?
The Hi-Pot test applies a high voltage to the circuit breaker to check the dielectric strength of its insulation. It is used during commissioning, maintenance, and after repairs to confirm the insulation’s ability to withstand high voltages.
7. What equipment is required for circuit breaker testing?
The primary equipment includes:
Micro-ohmmeter for contact resistance tests.
Insulation tester (megger) for insulation resistance tests.
Circuit breaker analyzer for timing tests.
High-voltage test kit for Hi-Pot tests.
Secondary injection tester for trip unit calibration.
8. How often should circuit breaker testing be performed?
The frequency depends on factors like the type of breaker, operating conditions, and manufacturer recommendations. Generally:
Routine Testing: Annually or every 2-3 years for industrial breakers.
Critical Systems: More frequently, based on usage and fault history.
After Faults or Repairs: Immediately after any significant event or maintenance.
9. What are common issues detected during circuit breaker testing?
High contact resistance indicating wear or poor connections.
Low insulation resistance pointing to degraded insulation.
Slow or inconsistent trip times, suggesting mechanical wear.
Failure to trip, indicating issues with the tripping mechanism or control circuits.
10. What are safety precautions to follow during circuit breaker testing?
Ensure the circuit breaker is isolated from the power source.
Use personal protective equipment (PPE) like insulated gloves and safety glasses.
Verify grounding of test equipment.
Follow the manufacturer’s guidelines and local electrical safety standards.
Double-check the breaker’s position (open/closed) before applying tests.
Subscribe our Newsletter to get the latest updates in Electrical Engineering.
Worth Read Posts
#CircuitBreakerTesting, #ElectricalSafety, #TestingProcedure, #PowerSystems, #ElectricalEngineering, #CircuitBreakerMaintenance, #ElectricalTesting, #HighVoltageTesting, #BreakerInspection, #ElectricalStandards, #CircuitBreakerRepair, #ProtectionSystems, #SwitchgearTesting, #ElectricalEquipment, #HVTesting


