Overcurrent Relay Testing Procedure: Complete Step by Step Guide
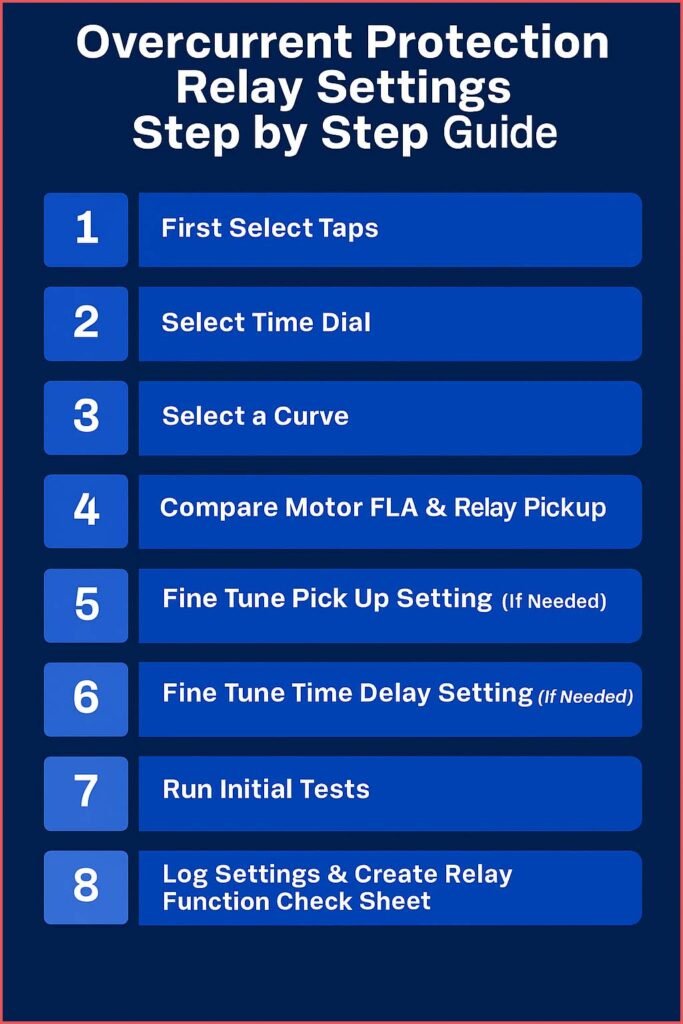
An overcurrent relay protects electrical circuits from excessive current by tripping before equipment suffers damage. To keep this protection reliable, you must test the relay using a structured and repeatable method. A well-defined overcurrent relay testing procedure ensures that pickup settings, time delays, and characteristic curves match protection coordination requirements.

Table of Contents
Understanding the Purpose of Overcurrent Relay Testing
An overcurrent relay senses abnormal current flow. It operates when the current exceeds the preset pickup value. Testing confirms that the relay triggers at the correct current and with the correct operating time.
Technicians perform these tests during commissioning, routine maintenance, and before system energization. They verify operating curves, instantaneous elements, and inverse-time characteristics. Learn in detail on vfd overload current setting
Key Parameters Verified During Testing
The following parameters form the basis of the overcurrent relay testing procedure:
Pickup Current (Ip)
This is the minimum current at which the relay begins to operate. It is set based on the downstream equipment rating.
Formula:
Ip = Setting percentage × Rated CT secondary current
Example:
If CT secondary = 5 A and pickup setting = 120%
Ip = 1.20 × 5 = 6 A
Time Dial Setting (TDS)
This defines how long the relay delays before tripping during an overcurrent condition. It affects coordination with upstream equipment.
Operating Time (t)
For inverse-time characteristics, the relay operates according to a time-current curve.
A general inverse-time formula is:
t = k × (TDS) / [(I/Ip)^α − 1]
Where:
k and α depend on the curve type (IEC, IEEE, very inverse, extremely inverse).
Dive deeper into differential protection of alternator
Instantaneous Trip Setting
This element trips without intentional delay if the fault current exceeds a fixed value.
Equipment Required for Testing
Before starting, prepare the following tools. Proper equipment ensures accurate results and safe operation.
Essential Test Instruments Table
| Equipment | Purpose |
|---|---|
| Secondary injection test set | To inject test currents into the relay |
| Multimeter | For auxiliary measurements |
| CT shorting block | To ensure CT safety |
| Test switches | For safe isolation |
| Stopwatch or test software | To record operating time |
| Relay documentation | For setting reference |
Safety Requirements Before Testing
Electrical safety is a priority. Before performing an overcurrent relay testing procedure, technicians must:
- Isolate the relay from the live circuit.
- Short CT secondaries using a CT shorting block.
- Verify absence of voltage on auxiliary terminals.
- Wear proper PPE: insulated gloves, face protection, and arc-rated clothing.
- Identify all control cables to avoid incorrect disconnection.
- Ensure only authorized personnel perform the test.
Learn more about types of generator protection relays
Step-by-Step Overcurrent Relay Testing Procedure
The following method is widely used for both electromechanical and numerical relays. The steps ensure the relay operates according to design parameters.
Step 1: Visual and Physical Inspection
Start with a physical check of the relay and wiring.
- Inspect terminal tightness.
- Confirm settings on relay display or test software.
- Verify CT and VT wiring correctness.
- Check for dust, moisture, or damaged components.
Once the relay condition is verified, proceed to electrical testing.
Step 2: Verify Relay Settings
Record the following settings from the relay configuration:
- Pickup setting (in multiples of rated current)
- Time dial setting
- Instantaneous setting
- Curve type (IEC normal inverse, IEC very inverse, IEEE moderately inverse, etc.)
- CT ratio
This data forms the benchmark for comparison with measured values.
Get complete information about protection of alternator
Step 3: Conduct the Pickup Test
The pickup test checks whether the relay begins to operate at the correct pickup current.
Procedure:
- Connect the secondary injection test set to the relay current input.
- Inject current started at 10–20 percent below the pickup value.
- Increase current slowly until the relay changes state (pickup LED or software indication).
- Record the actual pickup current.
Typical Expected Results:
The measured pickup value should be within ±5% of the calculated setting.
Example Table of Pickup Test Readings
| Test Step | Injected Current (A) | Relay Status | Observation |
|---|---|---|---|
| 1 | 5.2 | No pickup | Below Ip |
| 2 | 5.8 | No pickup | Near setting |
| 3 | 6.0 | Pickup | Ip reached |
| 4 | 6.2 | Pickup hold | Stable |
If the relay picks up outside acceptable tolerance, calibration may be required.
Know more about alternator protection scheme
Step 4: Time Delay Test (Inverse-Time Characteristic Test)
This test verifies whether the relay trips within the expected time when current exceeds pickup.
Procedure:
- Select two or three test points such as 2×Ip, 5×Ip, and 8×Ip.
- Inject current according to each test point.
- Start the timer when the relay senses fault current.
- Stop timing when the relay output contact operates.
- Compare time with the relay time-current curve.
Sample Timing Comparison Table
| Multiple of Pickup Current | Expected Time (s) | Measured Time (s) | Result |
|---|---|---|---|
| 2× Ip | 4.5 | 4.6 | Pass |
| 5× Ip | 1.2 | 1.3 | Pass |
| 8× Ip | 0.8 | 0.81 | Pass |
The measured values should closely follow the characteristic curve.
Step 5: Instantaneous Trip Test
Instantaneous elements must operate without intentional delay.
Procedure:
- Set the injection current to just below the instantaneous pickup.
- Increase current in small steps until relay operates instantly.
- Measure the current value.
- Compare with the relay setting.
Explore details on IEC Standard for Differential Protection
Expected Behavior:
Operation time should be less than 0.05 seconds.
Instantaneous pickup tolerance is usually ±10%.
Step 6: Reset Test
This test verifies the relay’s ability to reset after fault clearance.
Procedure:
- Inject current slightly above pickup until the relay operates.
- Reduce the current slowly.
- Note the current at which relay resets.
The reset ratio = Reset current / Pickup current
Typical values range from 0.85 to 0.95.
Step 7: Phase and Directional Verification (For Advanced Relays)
If the relay includes directional or phase-selective elements:
- Inject three-phase currents.
- Validate direction sensing.
- Confirm phase overcurrent elements (Phase A, B, C).
- Check negative-sequence elements if applicable.
For directional relays, verify correct torque angle alignment.
Step 8: Functional Trip Test
This test ensures the relay correctly trips the circuit breaker.
Steps:
- Connect relay trip contacts to the breaker trip coil or test circuit.
- Inject fault current above pickup.
- Verify relay energizes the trip coil.
- Confirm breaker opens or trip indication appears.
This step validates the overall protection chain.
Find out more about transformer differential protection
Common Issues Found During Overcurrent Relay Testing
Regular testing helps identify common issues such as:
- Incorrect CT polarity
- Loose terminal connections
- Drifted settings due to aging
- Improper coordination due to system upgrades
- Software configuration errors
- Stuck mechanical parts in electromechanical relays
Addressing these issues ensures the relay responds accurately during real faults.
Best Practices for Accurate Relay Testing
Follow these practices to maintain testing accuracy:
- Use calibrated test equipment.
- Always short CT secondaries before disconnecting.
- Maintain testing records for future audits.
- Follow manufacturer-recommended procedures.
- Avoid injecting current beyond the relay’s thermal limits.
- Re-verify settings after the test.
Uncover insights on high impedance protection
Sample Overcurrent Relay Testing Checklist
| Task | Completed |
|---|---|
| Visual inspection | Yes/No |
| Recorded original settings | Yes/No |
| Pickup test performed | Yes/No |
| Time delay test performed | Yes/No |
| Instantaneous test performed | Yes/No |
| Reset test completed | Yes/No |
| Functional trip verified | Yes/No |
| CT shorting restored | Yes/No |
| Relay returned to service | Yes/No |
This checklist ensures no step is missed.
Conclusion
A well-executed overcurrent relay testing procedure ensures reliable system protection. Testing verifies pickup accuracy, time-current characteristics, instantaneous elements, and overall functionality. It reduces the chances of false trips, nuisance operations, or protection failures. With structured testing, electrical systems remain safe, coordinated, and compliant with industry standards. Regular relay testing improves equipment reliability and strengthens power system stability.
Read in detail about types of transformer protection relays
Follow Us on Social:
Subscribe our Newsletter on Electrical Insights for latest updates from Electrical Engineering Hub
#overcurrentrelay, #relaytesting, #protectionrelay, #electricaltesting, #relaymaintenance, #overcurrentprotection, #electricalengineering, #relaytestprocedure, #powerprotection, #electricalsafety


