How to Use Megger Insulation Tester 1000V
A megger insulation tester 1000V is a vital tool for electrical engineers, technicians, and maintenance professionals. It is used to assess the integrity of electrical insulation in cables, motors, transformers, and other equipment. This article provides a clear, step-by-step guide on how to use a 1000V megger insulation tester, along with technical insights to help you understand its importance and correct usage.

Using this tool properly ensures safety, equipment reliability, and long-term performance. If insulation resistance is low, it may lead to leakage current, equipment failure, or even fire hazards. That’s why learning how to use the megger insulation tester 1000V is essential.
What is a Megger Insulation Tester 1000V?
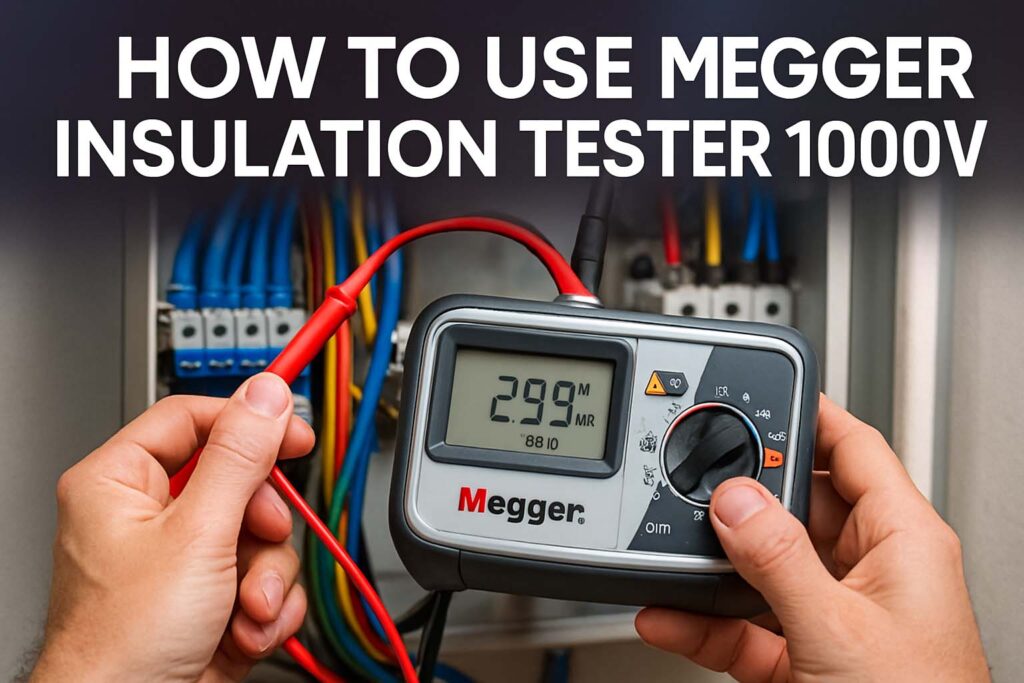
A megger insulation tester 1000V is a handheld device used to measure insulation resistance. The “1000V” refers to the maximum test voltage the device can apply to the circuit under test. These testers are also known as “megohmmeters.”
The device sends a high-voltage DC signal (up to 1000 volts) and measures the resistance between electrical conductors and earth or between different conductors. The result is displayed in megohms (MΩ). The higher the resistance, the better the insulation condition.
Why Use a 1000V Megger Insulation Tester?
The 1000V megger tester is ideal for testing insulation on medium-voltage equipment, such as:
- Industrial motors
- Control panels
- Power cables
- Generators
- Distribution boards
Using 1000 volts provides a deeper assessment than lower-voltage testers. It stresses the insulation more thoroughly, revealing hidden breakdowns or deteriorated insulation layers.
Know more about How Does a Megger Insulation Tester Work
Safety Precautions Before Using Megger Insulation Tester 1000V
Safety must be your top priority when using a megger insulation tester 1000V. It outputs high voltage, and misuse can cause electric shock or equipment damage. Follow these safety rules:
- Ensure the circuit is de-energized
- Disconnect sensitive electronic equipment
- Use appropriate PPE (Personal Protective Equipment)
- Confirm there’s no residual voltage using a multimeter
- Never touch probes during the test
Also, always consult your equipment’s operation manual before starting.
Components of a Megger Insulation Tester 1000V
A typical megger insulation tester 1000V includes the following components:
| Component | Description |
|---|---|
| Display Screen | Shows resistance value and battery status |
| Voltage Selector | Allows user to select test voltage (e.g., 250V, 500V, 1000V) |
| Test Leads | Red and black leads connect to the test points |
| Insulation Test Button | Activates the test cycle |
| Ground Terminal | Connects to earth or reference point |
Know more about IEC Standard for Protection Relays
Step-by-Step Guide on How to Use Megger Insulation Tester 1000V
Now, let’s walk through the process of using the megger insulation tester 1000V in real-world conditions. Follow the steps carefully.
Step 1: Turn Off Power Supply
Always begin by turning off the power to the device or cable you are testing. Lockout and tag the power source to prevent accidental re-energizing.
Step 2: Discharge the Equipment
Capacitive components, like motors and cables, can store energy. Use a grounding stick or resistor to safely discharge them before testing.
Step 3: Isolate the Circuit
Disconnect the component from other circuits. Testing a connected circuit may give false readings or damage other components.
Step 4: Connect Test Leads
Connect the red test lead to the conductor or terminal to be tested. Connect the black test lead to the equipment frame or ground. For multi-core cables, test between cores and between core and earth.
Step 5: Set the Test Voltage to 1000V
Most insulation testers offer multiple test voltages. Choose 1000V, especially when testing motors rated up to 1000V or industrial wiring systems.
Step 6: Press the Test Button
Hold the button to apply the test voltage. You’ll hear a slight buzzing sound. The display will show the insulation resistance in megohms.
Step 7: Observe and Record the Reading
A good reading typically ranges from 100 MΩ to several GΩ depending on the equipment age and type. Anything below 1 MΩ usually indicates poor insulation and may need investigation.
Step 8: Discharge After Test
Once testing is complete, release the test button. Most meggers auto-discharge the circuit, but it’s good practice to manually verify zero voltage with a meter.
Know more about IEC 62368 1 Leakage Current
Step 9: Repeat If Necessary
If you’re testing a complex machine or cable, repeat the test between various conductors and ground points to get a complete insulation profile.
Interpreting Insulation Resistance Readings
Understanding the readings of the megger insulation tester 1000V is essential for decision-making. Here’s a basic guideline:
| Insulation Resistance | Condition |
|---|---|
| >100 MΩ | Excellent insulation |
| 10 MΩ – 100 MΩ | Good, acceptable |
| 1 MΩ – 10 MΩ | Caution zone, monitor closely |
| <1 MΩ | Poor insulation, investigate |
Keep in mind that resistance values may vary due to temperature and humidity. Always refer to manufacturer specs when available.
Factors That Affect Insulation Resistance
Multiple factors influence the readings of a megger insulation tester 1000V. These include:
- Age of the equipment
- Temperature of surroundings
- Humidity level
- Dirt, dust, and moisture
- Type of insulation material
- Previous overloads or short circuits
Make sure to test under stable environmental conditions for reliable results.
Best Practices While Using Megger Insulation Tester 1000V
To ensure consistent and safe testing:
- Always test at the same time of day for routine checks
- Keep the megger calibrated and in good condition
- Do not test live circuits
- Store the megger in a dry, dust-free environment
- Keep detailed test records for trend analysis
These habits help in predictive maintenance and avoid unexpected breakdowns.
Know more about Demand Factor as Per NEC
Common Applications of Megger Insulation Tester 1000V
A megger insulation tester 1000V is useful across various industries:
- Testing motor windings during commissioning
- Cable insulation testing in switchgear installations
- Transformer insulation resistance checks
- Routine plant maintenance in industrial setups
- Pre-energization testing after repair or retrofitting
In all these cases, a proper insulation resistance test helps avoid future failures.
Troubleshooting Low Insulation Resistance
If your megger insulation tester 1000V shows a low reading:
- Recheck your connections
- Ensure the equipment is properly discharged
- Dry out the equipment if moisture is suspected
- Clean the terminal surfaces
- Inspect for physical damage to insulation
If the reading remains low, consider further diagnostics like polarization index (PI) testing.
Know more about Megger DLRO10
Conclusion
The megger insulation tester 1000V is an essential tool for electrical safety and reliability. Knowing how to use it effectively can prevent costly downtime and hazards. Whether you’re commissioning a new motor or checking cable health during routine maintenance, insulation testing should be a part of your workflow.
Follow Us on Social:
Subscribe our Newsletter on Electrical Insights for latest updates from Electrical Engineering Hub
#MeggerInsulationTester, #InsulationTesting, #ElectricalTesting, #MeggerTest, #ElectricalSafety, #InsulationResistance, #MeggerWorking, #TestEquipment, #ElectriciansTools, #HighVoltageTesting, #MeggerBasics, #ElectricalMaintenance, #IndustrialTesting, #ElectricalEngineering, #HowMeggerWorks


