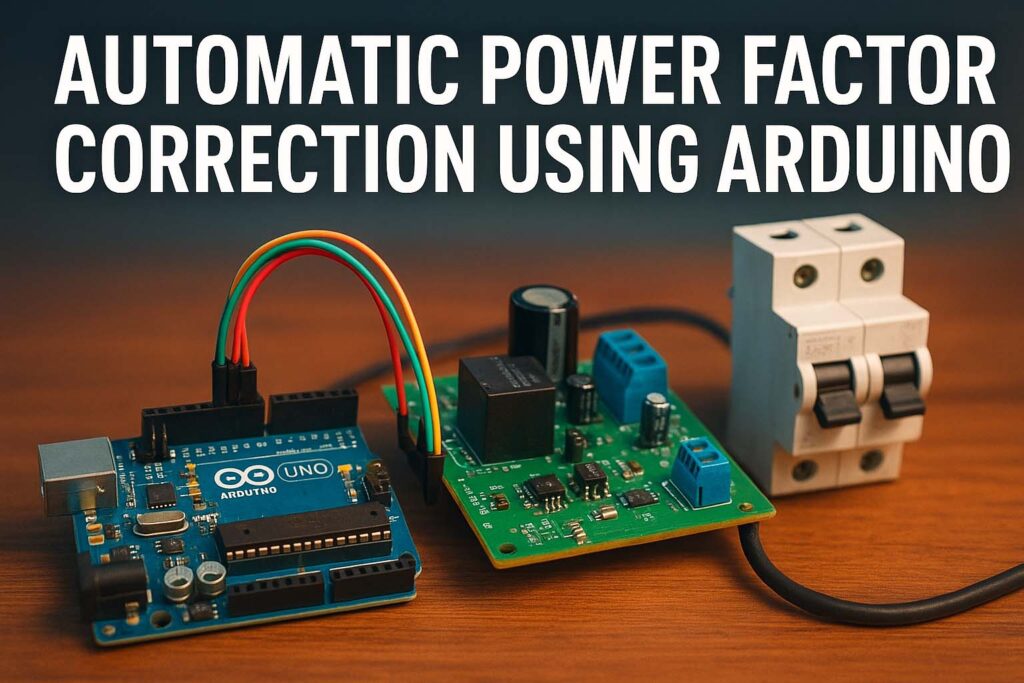
Automatic Power Factor Correction Using Arduino
In modern electrical systems, maintaining a good power factor is very important. A poor power factor increases electricity bills, reduces system efficiency, and causes unnecessary stress on equipment. Traditionally, capacitor banks are used to improve power factor, but they are often controlled manually. To solve this challenge, engineers and students are now focusing on automatic power factor correction using Arduino.
Table of Contents
Table of Contents

Before diving deeper, it’s important to understand that power factor is the ratio of real power to apparent power. A low power factor usually occurs due to inductive loads such as motors, fans, and transformers. Correcting the power factor means adding capacitors automatically whenever needed. This is where Arduino-based automatic power factor correction systems provide a simple, low-cost, and effective solution. If you want to calculate capacitor bank requirements before designing, you can try this Power Factor Correction Calculator.
Key Takeaways
- Automatic power factor correction using Arduino helps save energy costs and improve efficiency.
- The system uses Arduino, current sensors, and relay-controlled capacitors.
- It is cost-effective, reliable, and suitable for industrial and educational projects.
Use our online tool Power Factor Correction Capacitor Calculator
Understanding Automatic Power Factor Correction Using Arduino
When loads are connected in an electrical system, the power factor decreases due to reactive components. To correct this, capacitors are added. But instead of manually switching them, Arduino can measure the power factor and switch capacitors automatically.
The main idea of automatic power factor correction using Arduino is simple. First, the Arduino measures the phase difference between voltage and current. Then it calculates the power factor. If the power factor is lower than a set value, it energizes relays to connect capacitor banks until the desired power factor is restored.
Why Choose Arduino for Power Factor Correction
Arduino is widely used in automation projects because it is low-cost, open-source, and easy to program. For power factor correction, it has several advantages:
- Accurate measurement of phase difference using zero crossing detection.
- Real-time switching of capacitors.
- Simple to expand for larger loads.
- Cost-effective compared to commercial APFC panels.
Industrial systems use complex microcontrollers and PLCs for automatic power factor correction. However, for small-scale industries, labs, and projects, Arduino-based solutions are sufficient.
Know more about Off-Grid Solar System Design Guide for Remote Areas
Block Diagram of Automatic Power Factor Correction Using Arduino
The working of the system can be understood with its block diagram:
- Voltage Sensor – Measures the supply voltage and detects zero crossing.
- Current Sensor – Measures the current flowing through the load.
- Arduino Board – Calculates power factor and controls capacitor switching.
- Relay Driver Circuit – Controls the capacitor banks.
- Capacitor Bank – Provides reactive power compensation.
The entire process is automatic, requiring no manual intervention.
Components Required for Automatic Power Factor Correction Using Arduino
| Component | Description |
|---|---|
| Arduino UNO / Mega | Main controller for measurement and decision making |
| Current Sensor (CT) | Measures load current |
| Voltage Sensor | Detects zero crossing of supply voltage |
| Relay Module | Switches capacitor banks |
| Capacitor Bank | Provides reactive power compensation |
| LCD Display | Shows real-time power factor |
| Resistors & Diodes | Supporting circuit elements |
These components are inexpensive and easily available. The setup can be built on a breadboard or PCB for stable operation.
Know more about Short Circuit Calculation Methods: IEC vs ANSI
Working Principle of Automatic Power Factor Correction Using Arduino
The operation of this system is based on phase angle detection. Arduino reads the input signals from the voltage sensor and the current sensor. The difference between these signals is the phase difference. Power factor is then calculated as:
Power Factor (cos φ) = Real Power / Apparent Power
When the calculated power factor drops below the set threshold (e.g., 0.9), Arduino activates the relay to connect capacitors. As the power factor improves, it disconnects unnecessary capacitors to avoid overcompensation.
This dynamic adjustment ensures that the power factor remains close to unity.
Benefits of Automatic Power Factor Correction Using Arduino
- Energy Savings: Reduces penalties on electricity bills caused by poor power factor.
- Better Efficiency: Improves load handling capacity of the system.
- Low Cost: Much cheaper than commercial APFC panels.
- Easy Maintenance: Simple components make it easier to repair and modify.
- Scalable: Capacitor banks can be expanded as load increases.
Applications of Automatic Power Factor Correction Using Arduino
This system has a wide range of applications in:
- Small industries with multiple motors and inductive loads.
- Educational labs for teaching power factor concepts.
- Commercial buildings where energy saving is essential.
- Agricultural motor control systems.
Know more about Transformer Cooling Methods: ONAN, ONAF, OFAF & More
Example Calculation for Capacitor Requirement
Suppose a motor load draws 5 kW at a power factor of 0.7. The target power factor is 0.95.
Reactive power (Q1) = P × tan(cos⁻¹(0.7))
Reactive power (Q2) = P × tan(cos⁻¹(0.95))
Required capacitor reactive power = Q1 – Q2
This calculated value gives the capacitor rating needed. Instead of doing lengthy calculations manually, you can use the Power Factor Correction Calculator for quick results.
| Parameter | Value |
|---|---|
| Load Power | 5 kW |
| Initial Power Factor | 0.7 |
| Target Power Factor | 0.95 |
| Required Capacitor Power | ~3.26 kVAR |
This capacitor bank can be switched automatically by the Arduino system to maintain the desired power factor.
Technical Insights on Implementation
- Programming: Arduino IDE is used for coding. The program reads input from sensors, calculates the power factor, and controls relays.
- Zero Crossing Detection: Essential for accurate measurement of phase difference.
- Relay Control: Use opto-isolators to protect Arduino from high voltages.
- Capacitor Sizing: Select capacitors based on load requirements, considering safety margins.
- Display and Monitoring: Real-time monitoring improves usability.
Limitations of Automatic Power Factor Correction Using Arduino
- Suitable only for small to medium loads.
- Accuracy depends on sensor quality and calibration.
- Cannot replace industrial-grade APFC panels in large plants.
Still, it remains one of the most practical and educational solutions for energy efficiency.
Know more about Star Delta Transformer Fault Current Distribution Explained
Future Improvements
- Using wireless monitoring systems with IoT.
- Replacing relays with solid-state switches for faster response.
- Integrating with SCADA systems for industrial use.
- AI-based predictive capacitor switching.
These upgrades can make Arduino-based APFC systems more reliable and closer to commercial-grade solutions.
Conclusion
Automatic power factor correction using Arduino is an affordable and effective way to maintain a high power factor. It reduces energy costs, improves efficiency, and is easy to implement for small industries, labs, and educational projects. The system relies on Arduino, sensors, and capacitor banks to automatically correct the power factor without manual intervention. Before designing such a system, it is always useful to calculate the capacitor size using a reliable Power Factor Correction Calculator. This ensures proper design and helps in achieving the best performance.
Follow Us on Social:
Subscribe our Newsletter on Electrical Insights for latest updates from Electrical Engineering Hub
#AutomaticPowerFactorCorrection, #PowerFactorCorrection, #ArduinoProjects, #ElectricalEngineering, #EngineeringProjects, #EnergyEfficiency, #ArduinoBasedProjects, #ElectronicsEngineering, #PowerFactorImprovement, #IoTProjects, #ArduinoCircuits, #EnergySavings, #ArduinoTutorial, #APFC, #SmartEnergy


