How to Build a Smart Home Relay with ESP12F: Step By Step Guide
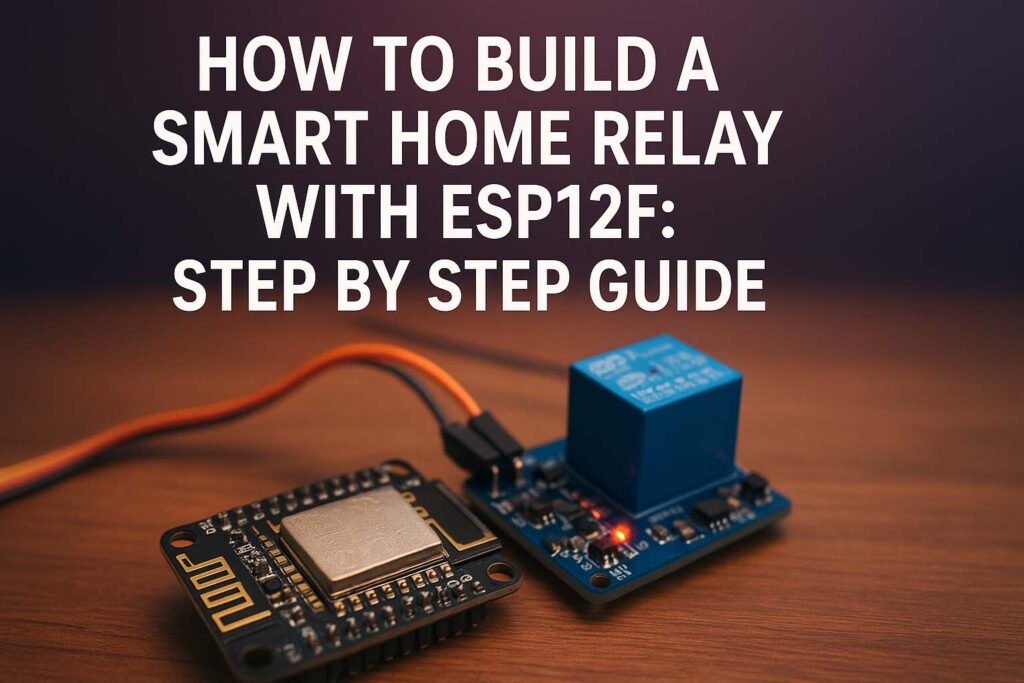
Smart homes are no longer a futuristic dream. With affordable microcontrollers and Wi-Fi-enabled modules, anyone can start automating their home devices. One of the most versatile modules for smart home projects is the ESP12F, a Wi-Fi-enabled version of the ESP8266 family. This compact module can connect to the internet, control relays, and communicate with other IoT devices. Learning how to build a smart home relay with ESP12F is a practical step if you want to control lights, fans, or appliances remotely.
Table of Contents
Table of Contents

The idea is simple. You connect the ESP12F to a relay, which then acts as a switch for your appliances. With this setup, you can toggle the relay using Wi-Fi commands, a smartphone app, or even integrate it with smart assistants. While the concept is straightforward, the execution requires some technical knowledge. You need to understand the ESP12F pinout, the power requirements, relay characteristics, and the firmware flashing process.
Before we dive into the technical build, it’s important to note that working with mains electricity is dangerous. Always test with low voltage first, use proper insulation, and follow electrical safety standards. Once you understand the process, scaling it up for real household appliances becomes easier and safer.
Key Takeaways:
- ESP12F is a Wi-Fi-based microcontroller ideal for smart home relay projects.
- Relays allow safe switching of high-voltage appliances using low-power ESP12F control.
- A proper power supply, circuit design, and firmware flashing are essential for reliable operation.
- With this guide, you can build a basic smart home relay and expand it into a full smart automation system.
Know more about Best WiFi Modules for Smart Home Projects (ESP8266, ESP32, ESP12F)
Understanding the ESP12F Module
The ESP12F belongs to the ESP8266 family. It is a compact Wi-Fi-enabled module with 4MB flash memory, a 32-bit Tensilica CPU, and GPIO pins for controlling external hardware. The module operates at 3.3V, which makes it efficient but also sensitive to overvoltage. Unlike traditional microcontrollers, the ESP12F comes with integrated TCP/IP protocol support, meaning you can connect it to a Wi-Fi network without additional hardware.
Here is a quick technical overview of the ESP12F:
| Feature | Specification |
|---|---|
| CPU | 32-bit Tensilica L106 running at 80/160 MHz |
| Flash Memory | 4 MB |
| Operating Voltage | 3.3V |
| Wi-Fi Standard | IEEE 802.11 b/g/n |
| GPIO Pins | Up to 11 usable |
| Communication | UART, SPI, I2C |
| Current Consumption | 70 mA (typical active), <20 µA (deep sleep) |
The ESP12F is popular because it is cost-effective, small, and supported by large development communities. When learning how to build a smart home relay with ESP12F, the most important pins are the GPIO pins, which send digital signals to the relay module.
Why Use a Relay with ESP12F
A relay is essentially an electrically operated switch. Since the ESP12F cannot directly handle high voltage loads, a relay acts as the interface between the low-power ESP12F and high-voltage appliances. By energizing the relay coil with a GPIO signal, you can switch lights, fans, or even water pumps.
There are different types of relays available:
| Relay Type | Coil Voltage | Use Case |
|---|---|---|
| 5V Relay | Standard Arduino projects | Needs driver circuit with ESP12F |
| 3.3V Relay | Compatible with ESP12F directly | Best choice for direct control |
| Solid-State Relay | No mechanical parts | Silent operation and long life |
For smart home applications, a 5V relay module is most common. However, since ESP12F operates at 3.3V, you need a transistor driver circuit to interface the two. This ensures the relay coil receives enough voltage while protecting the ESP12F.
Know more about Primary Injection Test Procedure Step by Step
Circuit Design for a Smart Home Relay
When planning how to build a smart home relay with ESP12F, the circuit is the foundation. The main components include ESP12F, relay module, transistor, diode, and a stable power supply.
Essential Components:
- ESP12F Wi-Fi Module
- Relay module (5V or 3.3V depending on design)
- NPN transistor (e.g., 2N2222 or BC547) for driving the relay
- Flyback diode (e.g., 1N4007) across relay coil
- Power supply module (5V regulated, with AMS1117-3.3 for ESP12F)
- Capacitors for power stabilization
- Headers and PCB or breadboard
Circuit Working Principle:
- ESP12F sends a HIGH signal on GPIO pin.
- Transistor amplifies this signal to drive relay coil.
- Relay switches its contacts and controls appliance.
- Diode protects the transistor and ESP12F from back-EMF generated by relay coil.
This arrangement ensures safe and reliable switching.
Power Supply Considerations
Power supply design is critical when learning how to build a smart home relay with ESP12F. The ESP12F is sensitive to voltage fluctuations, and unstable power can cause random resets or Wi-Fi disconnections.
Recommended Power Setup:
- Use a 5V DC adapter rated at least 1A.
- Step down 5V to 3.3V for ESP12F using AMS1117-3.3 regulator.
- Add a 100 µF capacitor near ESP12F for voltage stability.
- Use separate supply lines for relay coil and ESP12F if possible.
If you want to integrate the relay into a real home wiring system, use a proper SMPS module like HLK-PM01 which can convert 220V AC to 5V DC safely.
Firmware and Programming the ESP12F
Once the hardware is ready, the next step in how to build a smart home relay with ESP12F is programming the module. You can use the Arduino IDE, NodeMCU firmware (Lua), or MicroPython. For beginners, Arduino IDE is the easiest.
Know more about ESP12F Pinout: An Important Guide
Steps to Flash ESP12F:
- Connect ESP12F to USB-to-Serial converter.
- Use 3.3V for VCC and CH_PD (EN) pin.
- Connect GPIO0 to GND while powering ON to enter flash mode.
- Select board as “Generic ESP8266 Module” in Arduino IDE.
- Write simple sketch to toggle relay on GPIO pin.
- Upload code and test relay switching.
Example Sketch (Arduino IDE):
#define RELAY_PIN 5

void setup() {
  pinMode(RELAY_PIN, OUTPUT);
  digitalWrite(RELAY_PIN, LOW);
}

void loop() {
  digitalWrite(RELAY_PIN, HIGH);
  delay(2000);
  digitalWrite(RELAY_PIN, LOW);
  delay(2000);
}
This simple sketch toggles the relay every two seconds. You can replace delays with Wi-Fi commands to control the relay via smartphone.
Adding Wi-Fi Control
The real power of ESP12F lies in Wi-Fi connectivity. By connecting to a home router, the relay can be controlled remotely. You can build a simple web server on ESP12F that responds to browser commands.
For example, typing http://192.168.1.50/ON in your browser can turn ON the relay, while /OFF turns it OFF. This allows smartphone or PC control without additional hardware.
Alternatively, you can integrate ESP12F with MQTT broker like Mosquitto. This enables smart home integration with platforms such as Home Assistant or Node-RED.
Safety Considerations
When experimenting with how to build a smart home relay with ESP12F, safety must always come first. A few critical tips include:
- Always use optocoupler relay modules for isolation.
- Never connect ESP12F directly to 220V AC.
- Use fuses and circuit breakers in your setup.
- Test with 5V DC loads before moving to mains appliances.
- Keep all high-voltage wiring enclosed.
Expanding the Project
Once you master a single smart relay, you can expand the system. Multiple relays can be controlled with a single ESP12F by using different GPIO pins. You can also add sensors such as DHT11 for temperature or PIR for motion detection. This allows automation like turning on a fan when the room is hot or switching on lights when motion is detected.
Integration with Alexa or Google Assistant is possible using third-party services like Blynk or IFTTT. This takes your project from a DIY experiment to a full smart home solution.
Use our online tool Ohms Law Calculator: A Tool for Electrical Calculations
Advantages of Using ESP12F for Smart Relays
- Low Cost: ESP12F modules are affordable and widely available.
- Wi-Fi Capability: No need for separate communication hardware.
- Community Support: Large community with open-source libraries.
- Scalability: Easily expand from one relay to a complete home automation system.
- Customizable: You control the firmware and security settings.
Troubleshooting Common Issues
| Problem | Possible Cause | Solution |
|---|---|---|
| ESP12F keeps resetting | Weak power supply | Use stable 3.3V regulator with capacitors |
| Relay not switching | GPIO voltage too low | Use transistor driver |
| Wi-Fi disconnects often | Router range issue | Place ESP12F closer or use repeater |
| Flashing fails | Wrong boot mode | Ensure GPIO0 is LOW during programming |
Final Thoughts
Learning how to build a smart home relay with ESP12F is one of the best ways to enter the world of home automation using IoT. It combines basic electronics, microcontroller programming, and networking into a single project. Once you succeed in switching your first appliance with Wi-Fi, you’ll realize the potential of building more advanced systems. With proper design, power supply, and safety precautions, ESP12F-based relays can form the backbone of your home automation network.
Follow Us on Social:
Subscribe our Newsletter on Electrical Insights for latest updates from Electrical Engineering Hub
#SmartHome, #ESP12F, #HomeAutomation, #IOTProjects, #RelayModule, #SmartSwitch, #ArduinoProjects, #DIYElectronics, #TechGuide, #IoTDevices, #AutomationIdeas, #SmartHomeRelay, #ElectronicsDIY, #MicrocontrollerProjects, #WirelessControl


