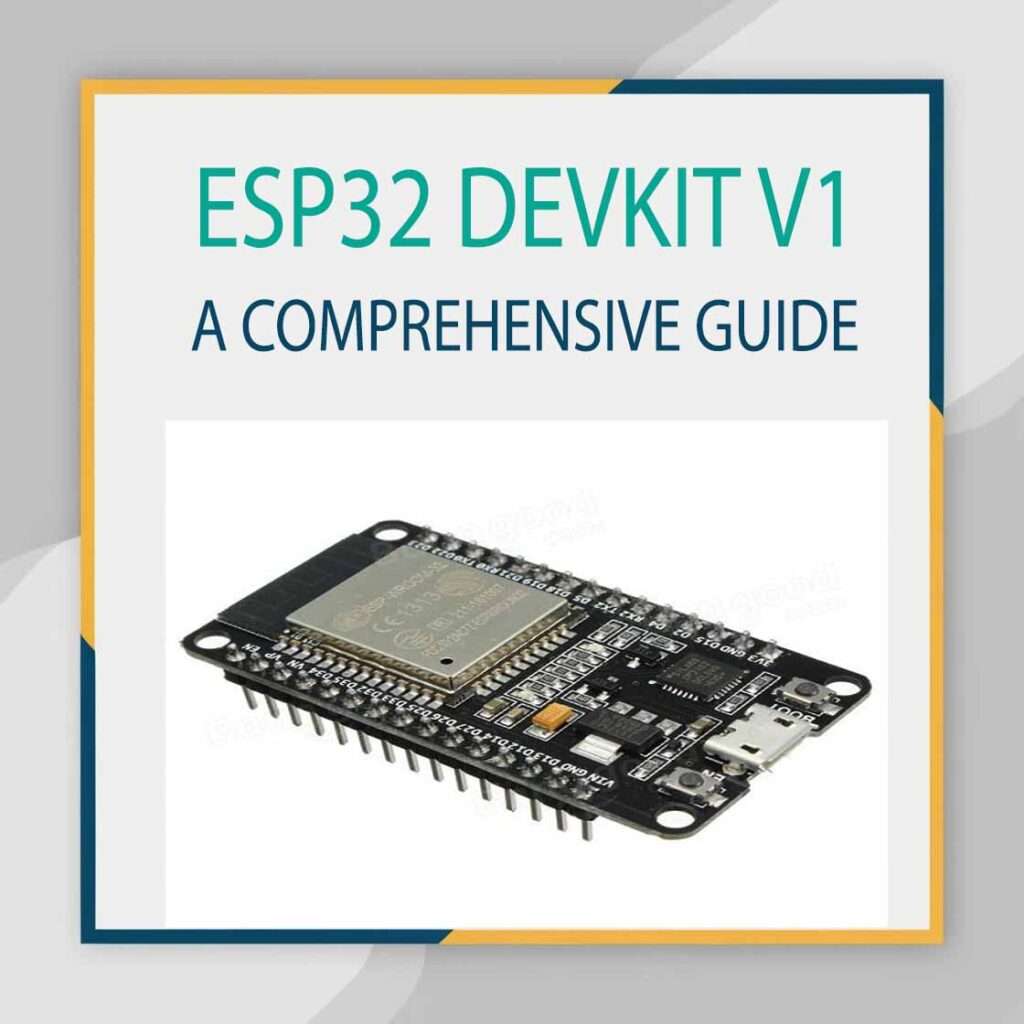
ESP32 DevKit V1: A Comprehensive Guide
The ESP32 DevKit V1 is a versatile development board built around the ESP32 microcontroller. It is widely popular for its robust features, such as dual-core processing, built-in Wi-Fi, Bluetooth capabilities, and support for various peripheral interfaces. This makes it a preferred choice for IoT projects, smart devices, and prototyping. In this guide, we will explore the technical details, pinout, features, and applications of the ESP32 DevKit V1.

Table of Contents
Table of Contents
What is ESP32 DevKit V1?
The ESP32 DevKit V1 is an entry-level development board from Espressif Systems. It integrates the ESP32-WROOM-32 module, which houses the ESP32 microcontroller. This board is designed to facilitate the development of IoT and embedded applications, offering a simple interface for connecting sensors, actuators, and other peripherals.
The ESP32 DevKit V1 is available in two primary variants: one with 30 pins and another with 38 pins. The difference lies in the number of GPIO pins exposed, but both versions offer the same core functionality.
Key Features of ESP32 DevKit V1
1. Microcontroller Core
- ESP32: A 32-bit microcontroller based on the Tensilica Xtensa LX6 architecture.
- Dual-core processor with a clock speed of up to 240 MHz.
- Supports low-power and energy-efficient modes, ideal for battery-operated devices.
2. Wireless Connectivity
- Wi-Fi: IEEE 802.11 b/g/n with support for Access Point (AP), Station (STA), and mesh networking.
- Bluetooth: BLE (Bluetooth Low Energy) and Bluetooth Classic for device-to-device communication.
3. Memory
- Flash Memory: 4 MB (or more, depending on the specific board version).
- SRAM: 520 KB for program storage and variable management.
4. Pinout and Peripheral Support
- Up to 34 GPIO pins, depending on the version.
- ADC (Analog-to-Digital Converter) with 18 channels.
- SPI, I2C, UART, PWM, DAC, and touch sensor interfaces.
- See ESP32 DevKit 30 Pin Pinout for more details on the 30-pin version.
5. Power Supply
- Operates on 3.3V logic level.
- Can be powered via a micro-USB cable or an external power source.
ESP32 DevKit V1 Pinout
The ESP32 DevKit V1 Pinout is essential for interfacing the board with other components. Below is a detailed breakdown:
30-Pin Variant Pinout:
- Power Pins:
- VIN: Input voltage for powering the board (5V).
- 3V3: Output of the on-board voltage regulator (3.3V).
- GND: Ground pin.
- Digital and Analog Pins:
- GPIO pins from 0 to 39, which can be used as digital I/O or configured for ADC, PWM, or I2C.
- Special Purpose Pins:
- TX/RX: For UART communication.
- EN: Reset pin for the ESP32.
- Boot: Used to flash the firmware.
For a detailed visual representation of the pin layout, check out the ESP32 WROOM Dev Mod Pinout and ESP32 Specs.
38-Pin Variant Pinout:
The 38-pin version offers additional GPIOs, making it suitable for projects requiring more peripherals. Both variants share the same functionality but differ in their physical layouts.
Technical Specifications of ESP32 DevKit V1
| Specification | Details |
|---|---|
| Processor | Dual-core Xtensa LX6 (32-bit) |
| Clock Speed | Up to 240 MHz |
| Wireless Connectivity | Wi-Fi 802.11 b/g/n, Bluetooth BLE + Classic |
| Flash Memory | 4 MB (default) |
| GPIO Pins | Up to 34 |
| ADC Channels | 18 |
| DAC Channels | 2 |
| Communication Interfaces | SPI, I2C, UART |
| Operating Voltage | 3.3V |
| Input Voltage | 5V |
For more details, refer to ESP32-WROOM-32U Pinout.
Applications of ESP32 DevKit V1
The ESP32 DevKit V1 is ideal for a wide range of applications, including:
- IoT Devices:
- Home automation systems.
- Smart sensors and actuators.
- Wearables:
- Fitness trackers.
- Health monitoring devices.
- Wireless Communication:
- Data transmission between devices using Wi-Fi or Bluetooth.
- Mesh networking for large-scale IoT deployments.
- Robotics:
- Controlling motors, servos, and sensors in robotic systems.
- Educational Projects:
- Perfect for students and hobbyists looking to learn embedded systems.
How to Get Started with ESP32 DevKit V1?
Step 1: Install Arduino IDE
The ESP32 DevKit V1 is compatible with the Arduino IDE, making it user-friendly for beginners. To set it up:
- Download and install the latest version of Arduino IDE.
- Add the ESP32 boards to the Arduino IDE using the board manager.
Step 2: Connect the ESP32 DevKit V1
- Plug the board into your computer using a micro-USB cable.
- Ensure the correct COM port is selected in the Arduino IDE.
Step 3: Write and Upload Code
- Use prebuilt libraries or write custom sketches to interface with peripherals.
- For example, you can blink an LED, read data from sensors, or send data over Wi-Fi.
Troubleshooting Common Issues
1. Board Not Detected
- Ensure the correct USB drivers are installed.
- Try a different USB cable or port.
2. Upload Errors
- Hold the Boot button while uploading the sketch.
- Verify the correct board and COM port are selected.
3. Power Issues
- Check the power supply voltage and ensure it meets the board’s requirements.
Why Choose ESP32 DevKit V1?
The DevKit V1 stands out due to its powerful features and affordability. Its ability to handle complex tasks such as real-time data processing, wireless communication, and energy-efficient operation makes it a preferred choice for developers. Additionally, its extensive community support ensures that beginners and experts alike can find resources and assistance.
Related Posts for Further Reading
To enhance your knowledge about the DevKit V1 and its related modules, check out these posts:
These posts cover detailed pinouts, specifications, and practical applications to help you master working with the ESP32.
Conclusion
The ESP32 DevKit V1 is a powerhouse in the world of embedded development. Its blend of processing power, wireless connectivity, and peripheral support makes it suitable for everything from small-scale projects to industrial applications. With its user-friendly design and widespread support, it’s no surprise that it is a top choice for developers worldwide.
Whether you’re a beginner starting your IoT journey or an experienced developer, the ESP32 DevKit V1 offers unmatched versatility and performance. Dive into the world of ESP32 today and bring your projects to life!
Follow Us on Social:
Subscribe our Newsletter on Electrical Insights for latest updates from Electrical Engineering Hub
#ESP32DevKitV1, #ESP32DevelopmentBoard, #MicrocontrollerProgramming, #IoTDevelopment, #EmbeddedSystems, #ESP32Projects, #WirelessConnectivity, #WiFiBluetoothModule, #ArduinoCompatible, #ESP32Tutorials, #IoTHardware, #ESP32Features, #ESP32Pinout, #ESP32Programming, #TechInnovation


