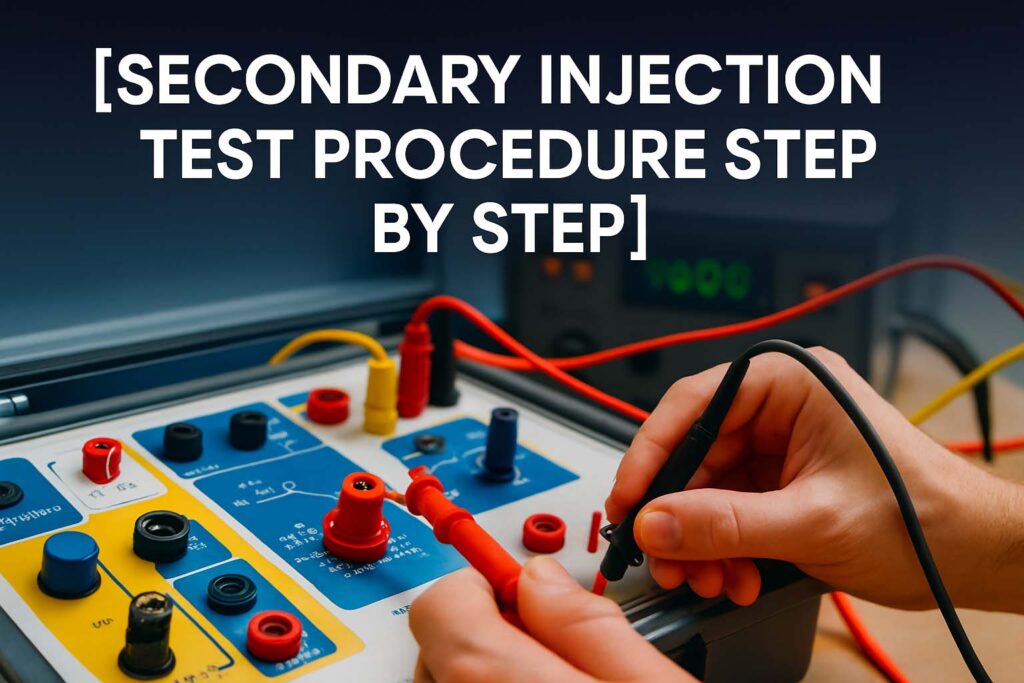
Secondary Injection Test Procedure Step by Step
The Secondary Injection Test procedure is an essential process in electrical engineering. It ensures the proper functioning of protective relays in a power system. This test is often performed during commissioning, periodic maintenance, or after relay repair. It does not involve high voltage or high current inputs. Instead, it tests the internal logic and trip circuits of the relay using low-level signals. This makes it safer and more efficient than a primary injection test in many situations.

In this detailed guide, we’ll walk through the Secondary Injection Test procedure step by step, provide expert insights, and explain its importance in real-world applications.
What is the Secondary Injection Test Procedure?
The Secondary Injection Test procedure involves injecting a simulated current or voltage signal directly into a protection relay. This helps to test the relay’s internal logic, settings, and trip functionalities without applying power to the entire system.
Unlike primary injection testing, which tests the entire protection system including CTs, cables, and breakers, the secondary method isolates the relay and focuses only on verifying the performance of its logic and output.
This procedure is ideal for testing digital relays, numerical relays, and even electromechanical relays. It is used by maintenance engineers, commissioning experts, and relay technicians.
Know more about Primary Injection Test Procedure Step by Step
Why Secondary Injection Testing is Important
Modern electrical systems rely heavily on relay protection. If a relay malfunctions, it can result in equipment damage, fire hazards, or system-wide outages. The Secondary Injection Test procedure allows engineers to:
- Verify the relay configuration and settings.
- Check relay logic and timing.
- Test trip and alarm outputs.
- Detect faulty or improperly configured relays.
Testing ensures the relay will respond correctly during actual fault conditions, without putting the system under stress.
Secondary Injection Test Procedure Step by Step
This step-by-step guide outlines the full process. Follow these carefully for accurate and safe testing.
1. Preparation Before the Test
Before you begin the actual Secondary Injection Test procedure, some preparatory work is essential. Start by:
- Studying the relay manual and its wiring diagram.
- Understanding the protection scheme and its associated settings.
- Isolating the circuit breaker and ensuring the trip circuit is accessible.
- Verifying the availability of a reliable secondary injection test kit such as Omicron, Megger, or ISA.
Know more about How to Use Megger Insulation Tester MIT2500
2. Equipment Required
Here is a table listing the equipment typically used in the procedure:
| Equipment | Purpose |
|---|---|
| Secondary Injection Kit | Injects test signals to the relay |
| Multimeter or Clamp Meter | Verifies outputs and connections |
| Insulation Resistance Tester | For prior insulation checks |
| Laptop with Relay Software | To interface with and program the relay |
| Test Leads and Probes | Connect the kit to relay terminals |
3. Safety Measures
Always follow safety protocols before starting any injection test. These include:
- Confirm that the trip circuit is isolated to avoid unwanted breaker operation.
- Use PPE (Personal Protective Equipment).
- Display warning tags and notify control room or operations staff.
- Ensure the test environment is dry and secure.
4. Establish Test Connections
Connect the secondary injection device to the relay terminals. Typically, you will use:
- Phase current inputs (for current-based protection testing)
- Phase voltage inputs (for voltage-based testing)
- Binary inputs and outputs for logic verification
Check connections twice before turning on the injection source.
5. Inject the Test Signal
Set the desired test values using the secondary injection kit. These could be current or voltage signals depending on the type of relay. The key idea is to simulate the fault condition the relay is designed to detect.
For example:
- Inject 1A or 5A current for overcurrent relay testing.
- Inject 80% of the pickup current to confirm that the relay does not operate.
- Then inject 120% of the pickup current to confirm trip operation.
Repeat the process for each protection element configured in the relay.
Know more about How to Perform Dielectric Absorption Ratio Test?
6. Observe Relay Response
Watch for:
- Trip signal activation
- Trip time recording
- Alarm indication
- Output contacts operation
Use relay software to log and validate the time-current characteristics. Ensure that the relay responds within acceptable time limits.
You may test features like:
- Instantaneous overcurrent
- Inverse time overcurrent
- Earth fault protection
- Under-voltage and over-voltage settings
- Differential and distance protections (for advanced relays)
Know more about How to Use Megger Insulation Tester MIT320
7. Record Results
Create a table like the one below to document your test results:
| Test Case | Injected Value | Expected Result | Actual Response | Status |
|---|---|---|---|---|
| Overcurrent Pickup | 80% | No trip | No trip | Pass |
| Overcurrent Trip | 120% | Trip in 0.4 sec | Trip in 0.39 sec | Pass |
| Earth Fault Trip | 1A | Trip in 0.5 sec | Trip in 0.51 sec | Pass |
| Overvoltage Detection | 110% Nominal | Alarm | Alarm | Pass |
Document the settings, the actual relay behavior, and any observations.
8. Restore Normal Conditions
Once the Secondary Injection Test procedure is complete:
- Disconnect the test kit.
- Restore all wiring to original condition.
- Remove isolation on the trip circuit.
- Reset any alarms or trips from the relay.
- Record final observations in the maintenance report.
9. Analyze and Confirm
Compare the test results with manufacturer specifications and relay settings. If any discrepancies are found, you may need to recalibrate the relay or re-check wiring. Never put a relay back into service unless all results are within acceptable limits.
Know more about Best Megger Insulation Tester 10kV
When Should You Perform a Secondary Injection Test?
These tests are recommended during:
- Initial commissioning of protection systems
- Routine maintenance intervals (every 1–3 years depending on criticality)
- After software or firmware updates in numerical relays
- Post-repair of relay or trip circuits
- After system faults to validate continued reliability
Advantages of Secondary Injection Testing
There are many benefits of using this method:
- Faster than primary injection
- More precise relay function validation
- Safer, since high voltages are not applied
- Allows selective testing of individual protection elements
- Can be automated with advanced software
Limitations to Consider
While effective, the Secondary Injection Test procedure does not test CT/PT performance or cable integrity. It also cannot validate actual fault current paths. Therefore, it should be complemented by other tests like insulation resistance, continuity, and primary injection when needed.
Common Mistakes to Avoid
Engineers should avoid:
- Skipping pre-checks or safety verifications
- Injecting wrong values or exceeding input limits
- Ignoring trip circuit feedback checks
- Failing to document the test steps
Good recordkeeping, careful setup, and methodical testing are key to accurate results.
Conclusion
The Secondary Injection Test procedure is an essential part of ensuring protection system reliability. It offers a safe, controlled, and efficient way to verify that relays are configured and operating correctly. Whether you’re commissioning a new panel or performing scheduled maintenance, this method provides critical assurance without putting equipment at risk.
Follow Us on Social:
Subscribe our Newsletter on Electrical Insights for latest updates from Electrical Engineering Hub
#SecondaryInjectionTest, #InjectionTesting, #RelayTesting, #ElectricalTesting, #ProtectionRelay, #SubstationTesting, #StepByStepGuide, #TestingProcedure, #PowerSystemTesting, #ElectricalSafety, #TestingRelays, #ElectricalEngineering, #TestProcedure, #GridProtection, #RelayCalibration


